Tag Archives: furniture

Family Rocking Chair

This old rocking chair belonged to my Father-in-law, before that his Father and before that his Father. The chair was worn and my Father-in-law set out to have it refinished. He had someone do the wood but didn’t find anyone to do the caning. For his birthday one year we had a local guy re-cane it (rope actually I believe) for him. My Father-in-law passed several years ago and we were recently given the chair by my Mother-in-law.
It’s relatively small for a rocker and my Father-in-law was a big man but he would sit in it every morning to put his shoes on.

Garden Bench

I just come across these photos of garden benches I made a few years ago. They are a simple design I come up with on the fly. I made 2, one for ourselves and one for our Daughter. Ours is the painted one which eventually started to rot and also needed to be moved from its location so we just got rid of it. Our Daughter gave hers to a neighbor when she moved and no longer had a place for it.

Small Book Shelf Re-Do

I was recently given this little bookshelf that was made by a family member in the early 50s in High School shop class. It had since been painted gold.

I gave the exterior a coat each of 2 shades of green chalk paint that I mixed up. The interior received chalkboard paint as that was the only black I had on hand. I then sanded the exterior down to distress it.
Next using Modpodge I decoupaged a map that I cut out of The Bugle (a publication by the Brooks bicycle saddle company).
I painted a black border around the map and sanded it slightly. Finally I covered the exterior with several coats of Minwax Polycrylic.

Dresser To Sofa Cabinet Re-do

We’d been looking for a piece of furniture to put behind our Sofa in the “big room” in the basement to replace a folding table and chairs. The folding table was was used frequently for crafts, puzzles etc… but looked tacky. Our original intent was to replace it with some other type of table even if it required me making something. Then we had the opportunity to get this old dresser for free so we nixed the plan for the table and decided to go with the dresser.

We wanted to give it a distressed paint look so I started by sanding off the finish and in some places through the finish and stain to the bare wood. I then primed the top and sides which were some kind of veneer. Next I applied an Olympic paint in the color of “Safe Harbor”. Once the paint dried I sanded it again, heavily on the edges and down to the bare wood. I started to go over it with a chocolate glaze but got impatient waiting for the glaze to dry/soak in so I switched to a Minwax mahogany stain and covered the entire dresser. I let the stain sit longer on the bare wood than I did the painted areas before wiping it off. For a clear coat I applied a couple coats of Minwax water based Polycrylic.

The finishing touch was new knobs and pulls.

Dry Erase – Chalk Board Menu Sign

Since we’ve changed our eating habits our meals are more planned out in advance where as before they rarely were. This means now there has been a piece of paper magneted to the fridge that had the weeks dinner menu on it. I thought it would be nice to do something different than this and the first thing that came to mind was a chalkboard. I didn’t like the idea of the chalk dust floating around in the kitchen so my next thought was a dry-erase board but I don’t really like the looks of those white boards. Then I had what I thought was a great original idea… what about combining the two? Well a Google search comfirms there’s no such thing as an original idea and landed me here. Wow! that is cool. And even though I knew mine wouldn’t turn out near as nice I went for it anyway.

I made the thrift store rounds in search of a frame. The first thing I found was the chalkboard for .99. Another thrift store I found the frame I liked but it had no glass. Fortunately though the same store had another frame the same size with glass. I think each frame was around $4.

The chalkboard didn’t work all that well so I gave it a coat of chalkboard paint I had on hand.
My intent was to paint the frame another color but instead I decided to keep it original and just add to the existing patina/distress. I sanded to distress it further and then gave it a clear coat. I wrote in white chalk on the chalkboard and then placed it in the frame behind the glass. I can now write the weeks dinner menu in dry-erase marker on the glass. Maybe some day I’ll make an attempt to do better chalk writing.

Painted Poker Table


For a year or so our “poker room” was used as a bedroom while we had family living with us. We’re just now getting around to changing it back. Our original card table was made by a friend and myself and served us well over the years but was in need of some tlc. It’s also really too big for the little room so we thought we’d retire it and look for something smaller.
We found the above table at a Goodwill store. After sanding the table I applied a primer and then a base coat color of “Frivolous” blue and then sanded down to the primer and wood on some of the table to and leg edges. I then applied a chocolate glaze.

Family Furniture


Pictured are furniture that I was recently given that belonged to a family member. The NightStand and Book Shelf were made in High School shop class nearly 60 years ago by an Uncle. The folding table “tv tray” I believe was made by a family friend. In the photo I have the drawer removed from the night stand and have already started removing the finish.


I decided to give the night stand a distressed painted finish. Some how we acquired several containers of Sherwin Williams sample paint. I picked one (Privilege Green) and gave the nightstand a couple coats with it. I then sanded through the paint to bare wood in some places. I hit the bare spots with a Minwax oak stain. I then gave everything a coat of Minwax water based clear.


The piece is currently in our basement “poker room”.

The Little Red Book Shelf


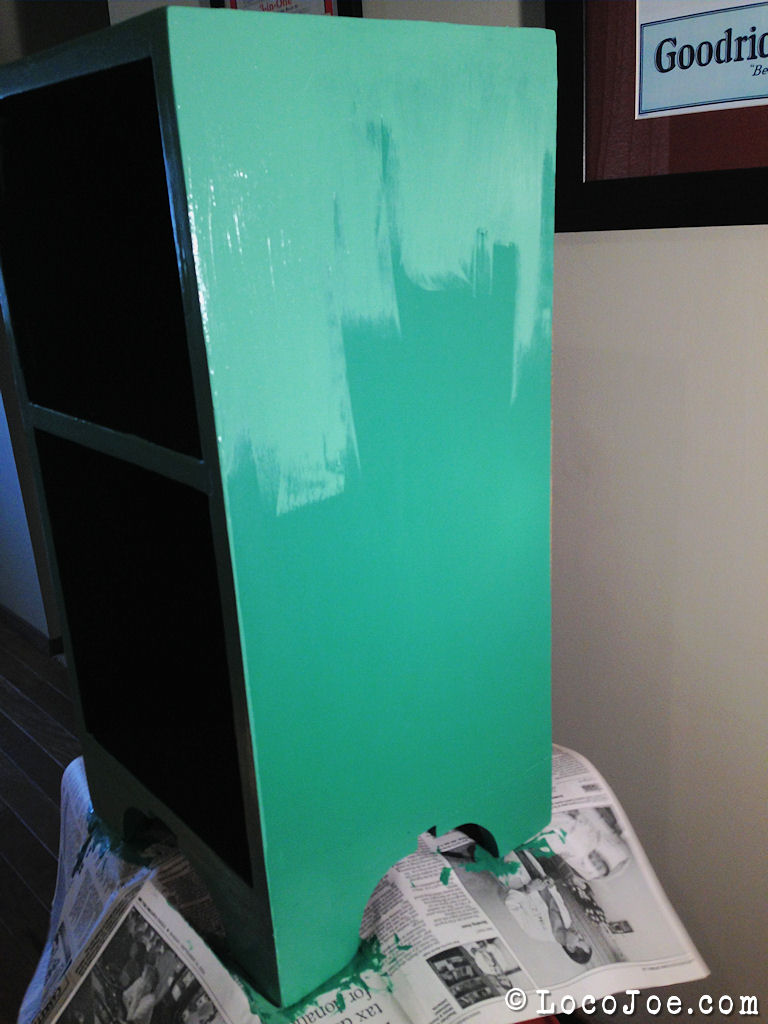
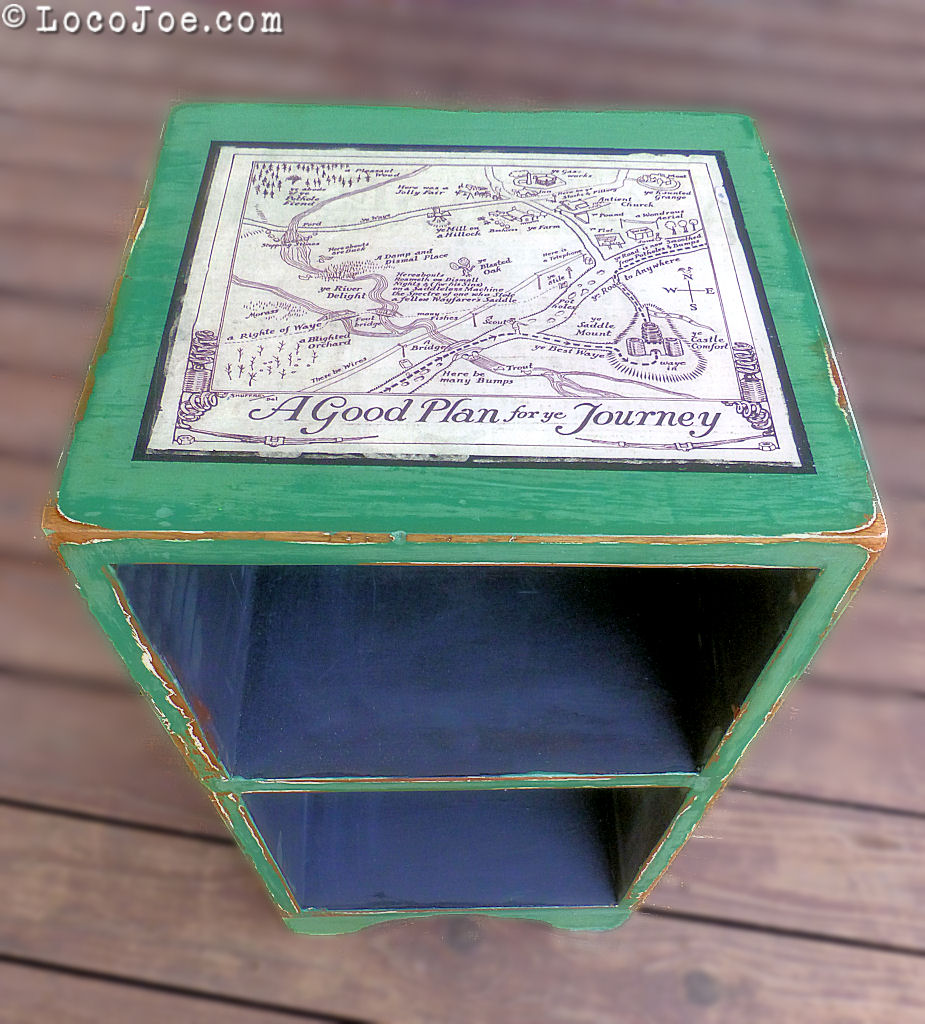
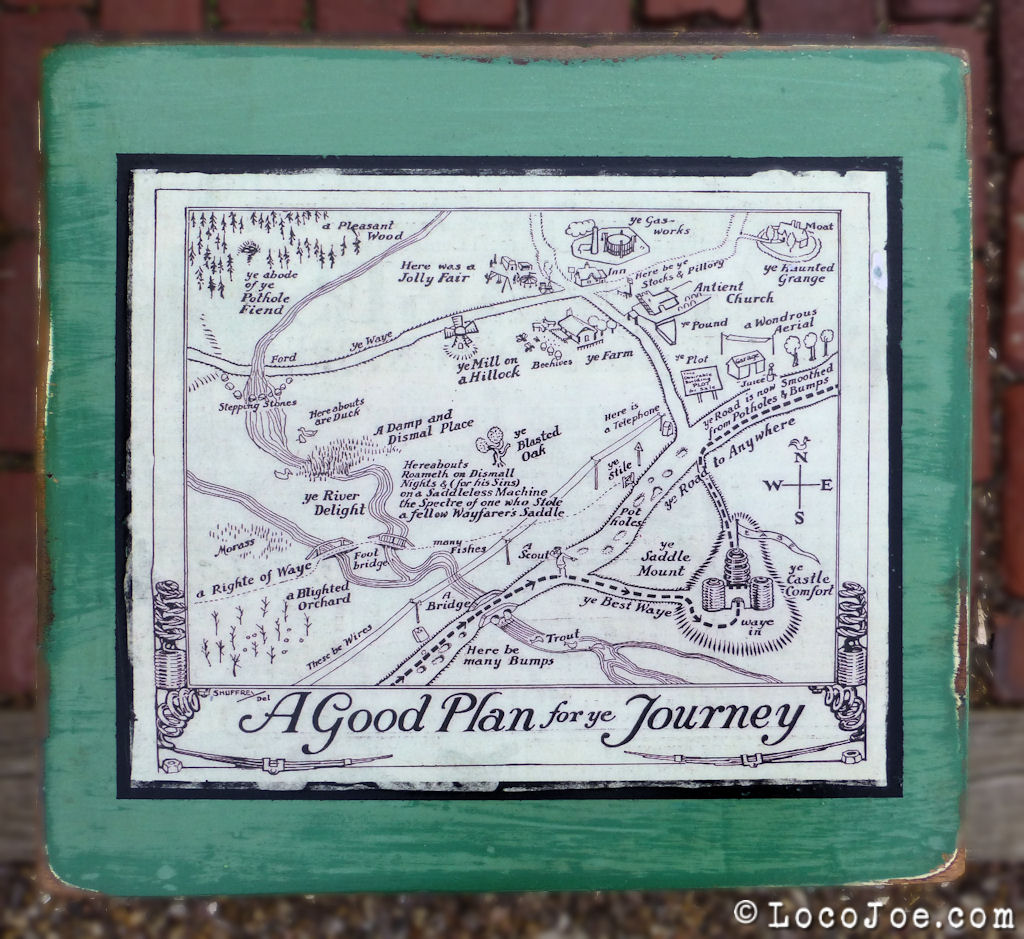
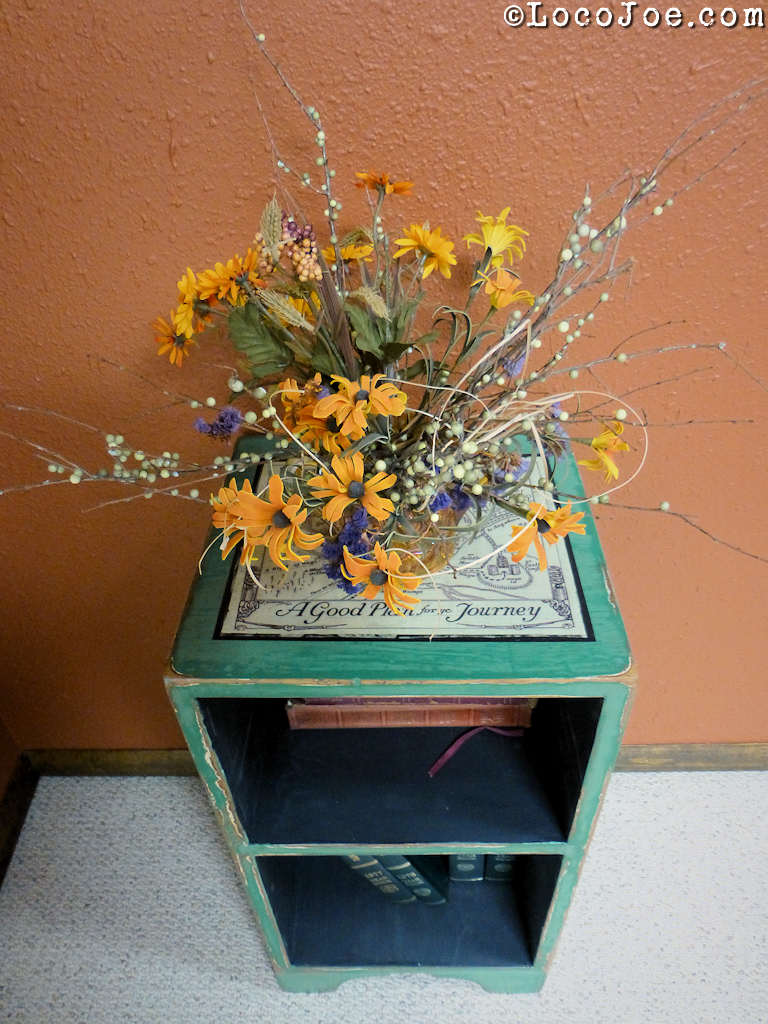
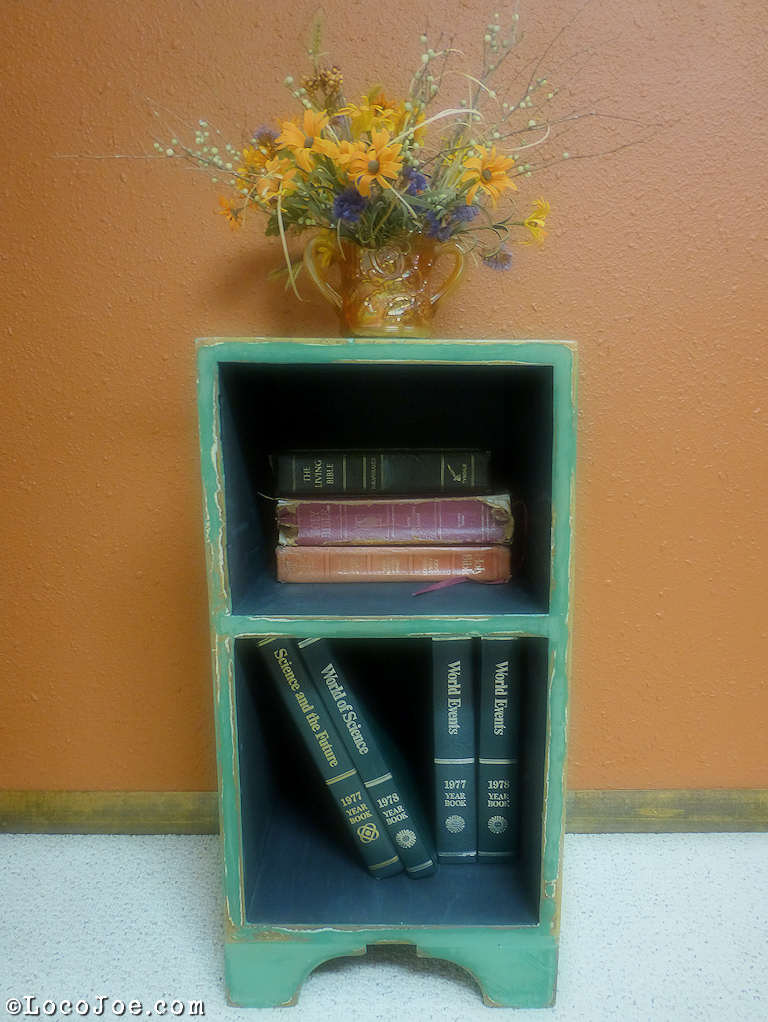
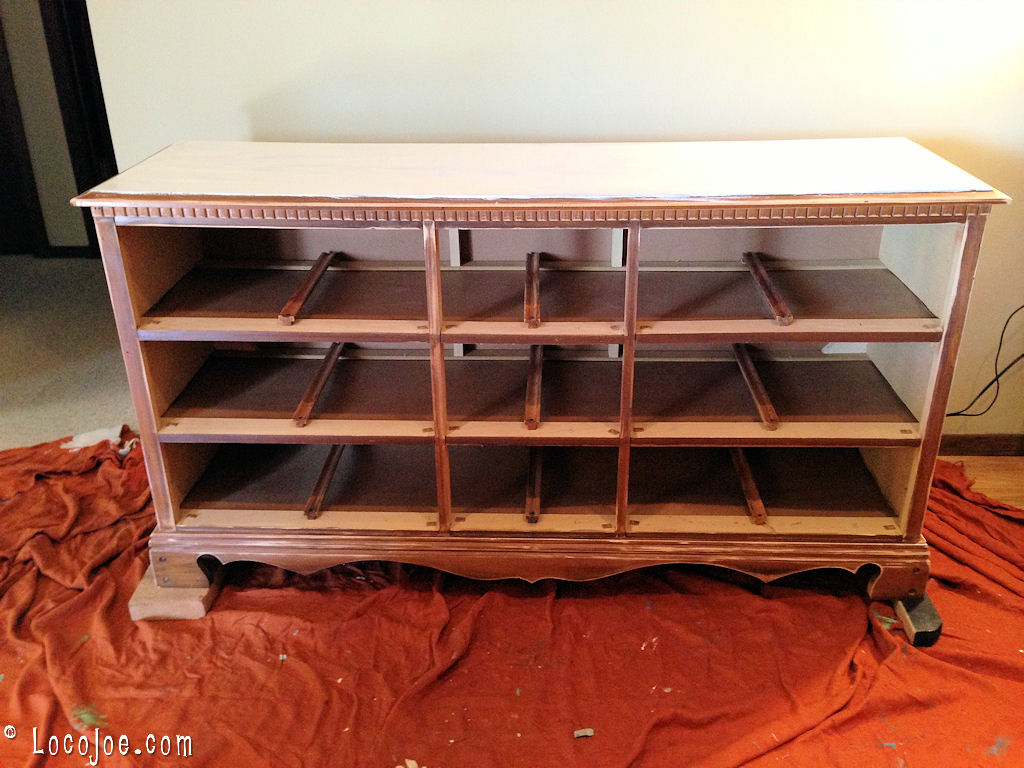
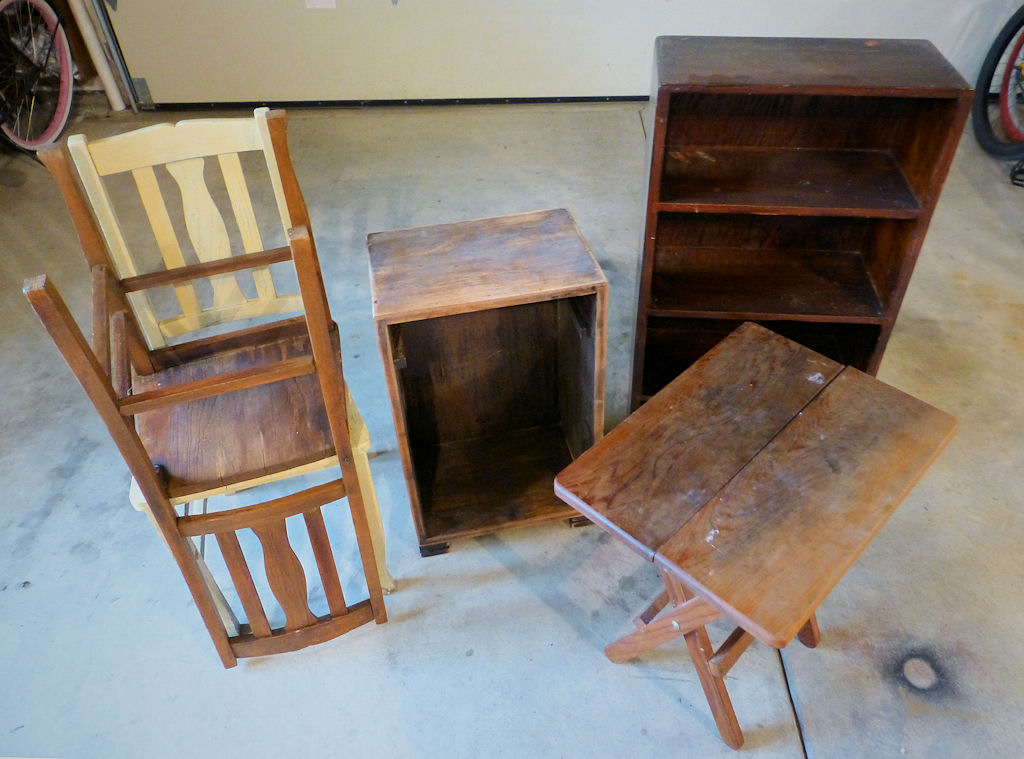
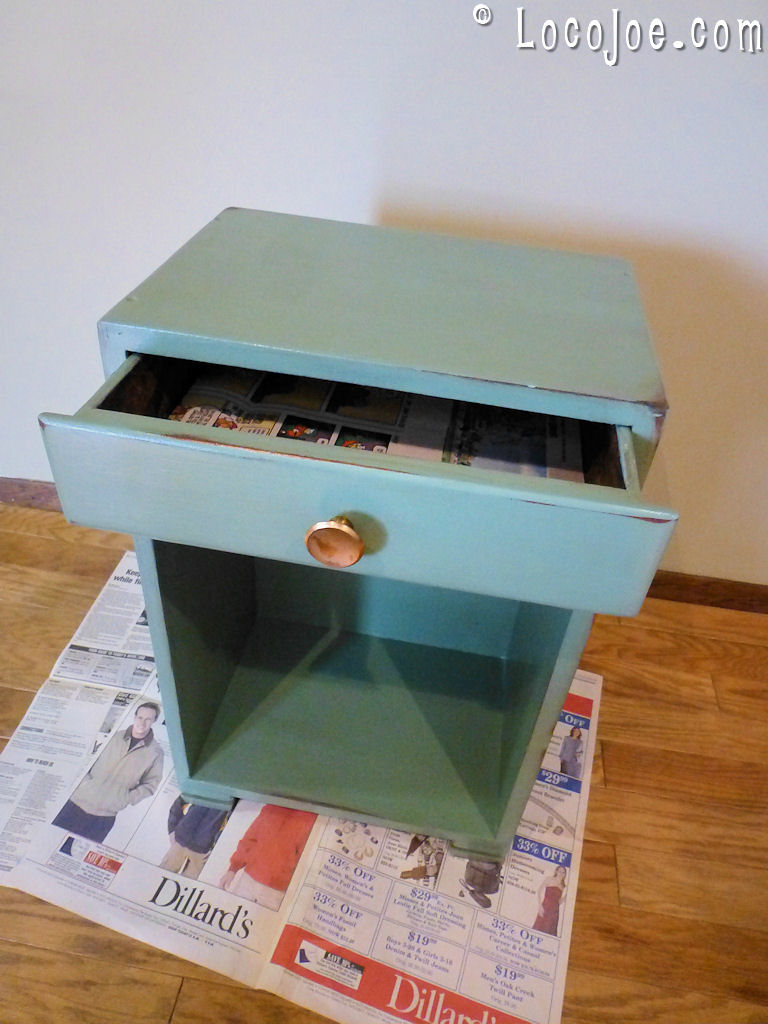
I found this little book shelf for $4.99 at a thrift store. It’s one of those pine, finish yourself, pieces of furniture. It had already been painted red but had a few spots where the paint was missing. I decided to hit those bad spots with a red spray paint I had on hand that was a little different shade. That’s when with the push of the nozzle, the cost of my cheap find just went up (Notice I said cost, not value). It was too cold to paint in the garage yet knowing it was a dumb thing to do, I did this quick little touch up in the house. Over spray from the rattle can got on the carpet. That’s when the cost of my $4.99 find went up dramatically. After many days and carpet cleaner solutions later, I did eventually get the paint out of the carpet. I liked the mismatched reds as it gave some depth/dimension/character to the paint (aka too lazy to paint the whole thing properly). We’ve placed it on the basement. Now what to put on it?

Side note: The red, blue and tan color scheme of the basement is the “in” look according to Ralph Lauren. Now that was many years ago… he may have changed his mind by now. Is he even still alive?… Google says Yes.