Category Archives: DIY

Dry Erase – Chalk Board Menu Sign

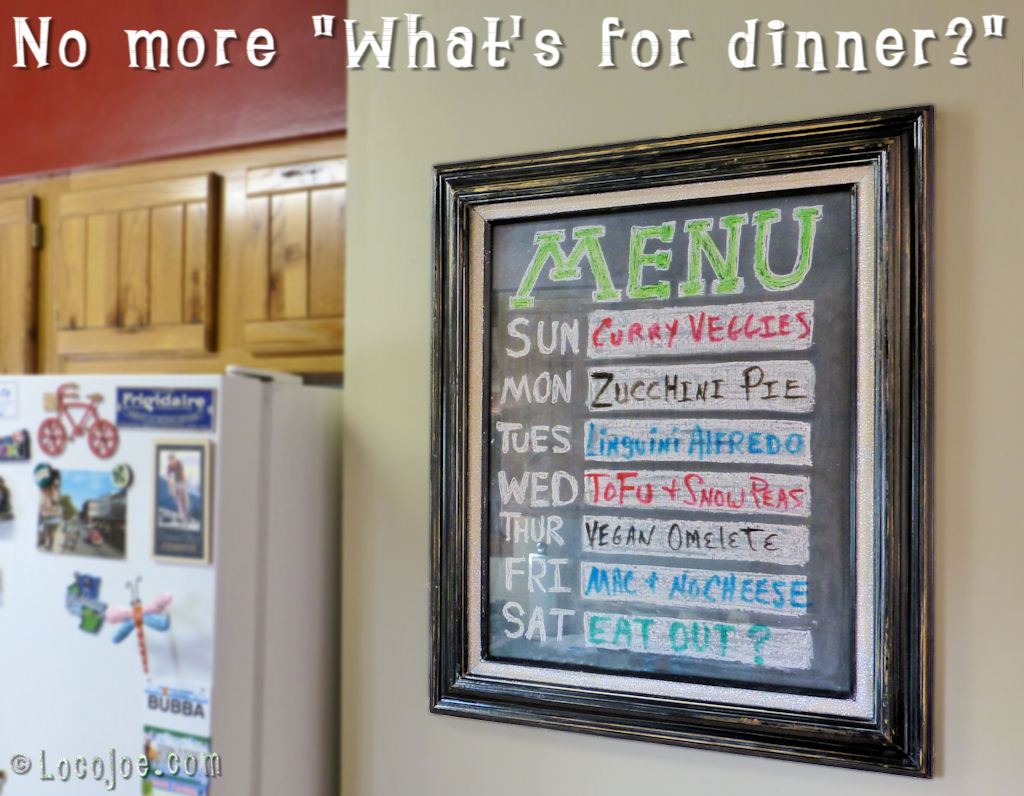
Since we’ve changed our eating habits our meals are more planned out in advance where as before they rarely were. This means now there has been a piece of paper magneted to the fridge that had the weeks dinner menu on it. I thought it would be nice to do something different than this and the first thing that came to mind was a chalkboard. I didn’t like the idea of the chalk dust floating around in the kitchen so my next thought was a dry-erase board but I don’t really like the looks of those white boards. Then I had what I thought was a great original idea… what about combining the two? Well a Google search comfirms there’s no such thing as an original idea and landed me here. Wow! that is cool. And even though I knew mine wouldn’t turn out near as nice I went for it anyway.

I made the thrift store rounds in search of a frame. The first thing I found was the chalkboard for .99. Another thrift store I found the frame I liked but it had no glass. Fortunately though the same store had another frame the same size with glass. I think each frame was around $4.

The chalkboard didn’t work all that well so I gave it a coat of chalkboard paint I had on hand.
My intent was to paint the frame another color but instead I decided to keep it original and just add to the existing patina/distress. I sanded to distress it further and then gave it a clear coat. I wrote in white chalk on the chalkboard and then placed it in the frame behind the glass. I can now write the weeks dinner menu in dry-erase marker on the glass. Maybe some day I’ll make an attempt to do better chalk writing.

Painted Poker Table


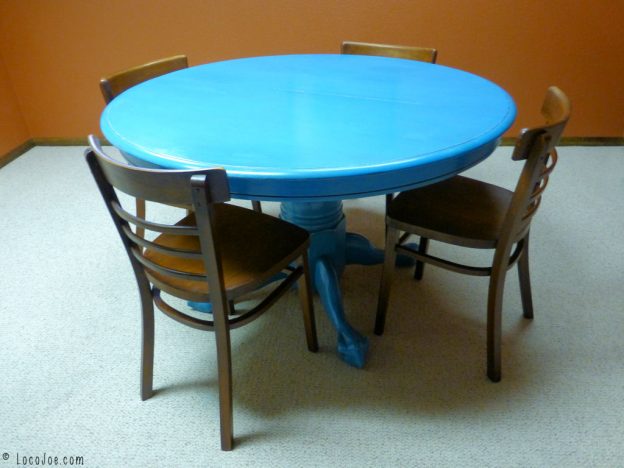
For a year or so our “poker room” was used as a bedroom while we had family living with us. We’re just now getting around to changing it back. Our original card table was made by a friend and myself and served us well over the years but was in need of some tlc. It’s also really too big for the little room so we thought we’d retire it and look for something smaller.
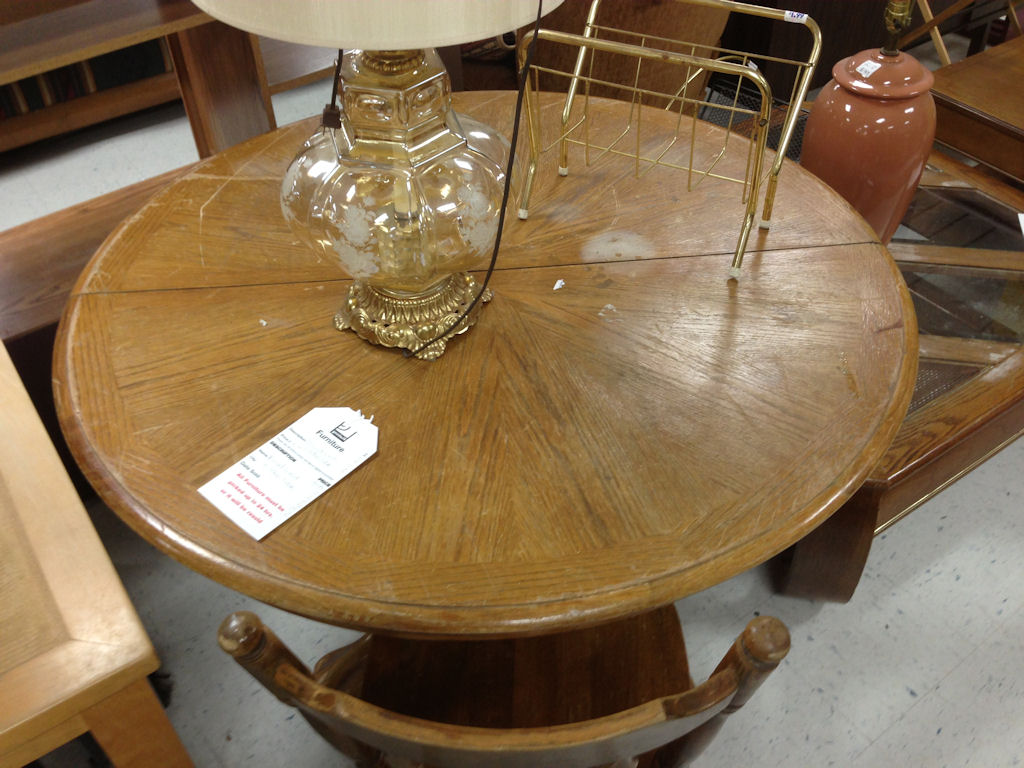
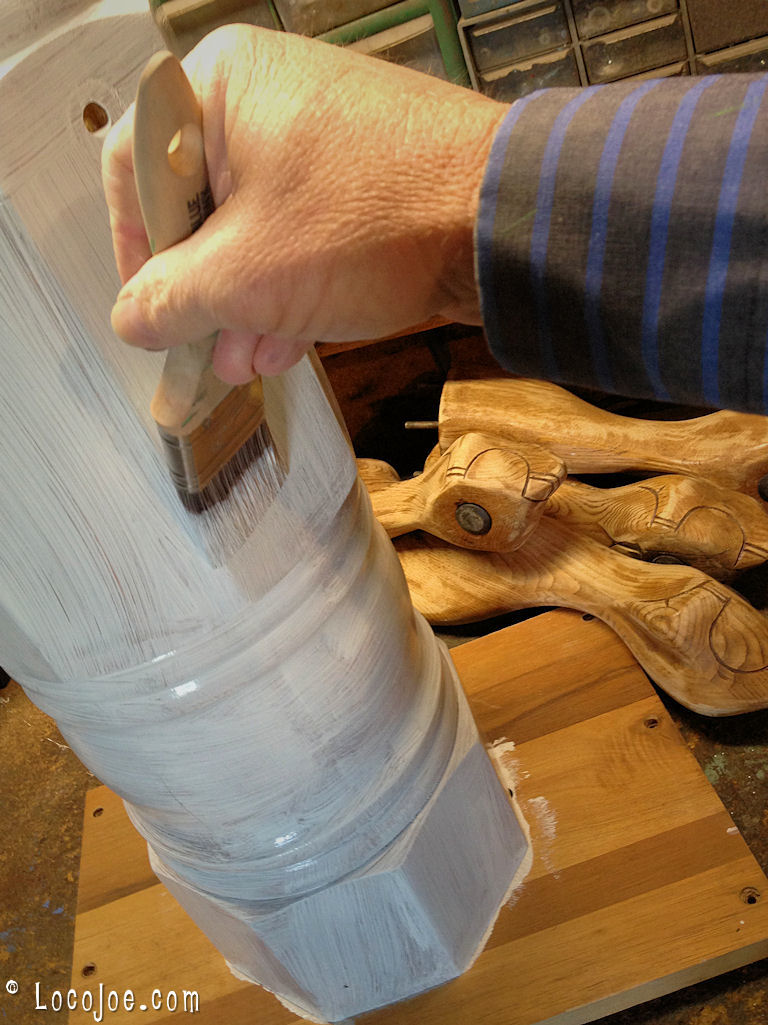
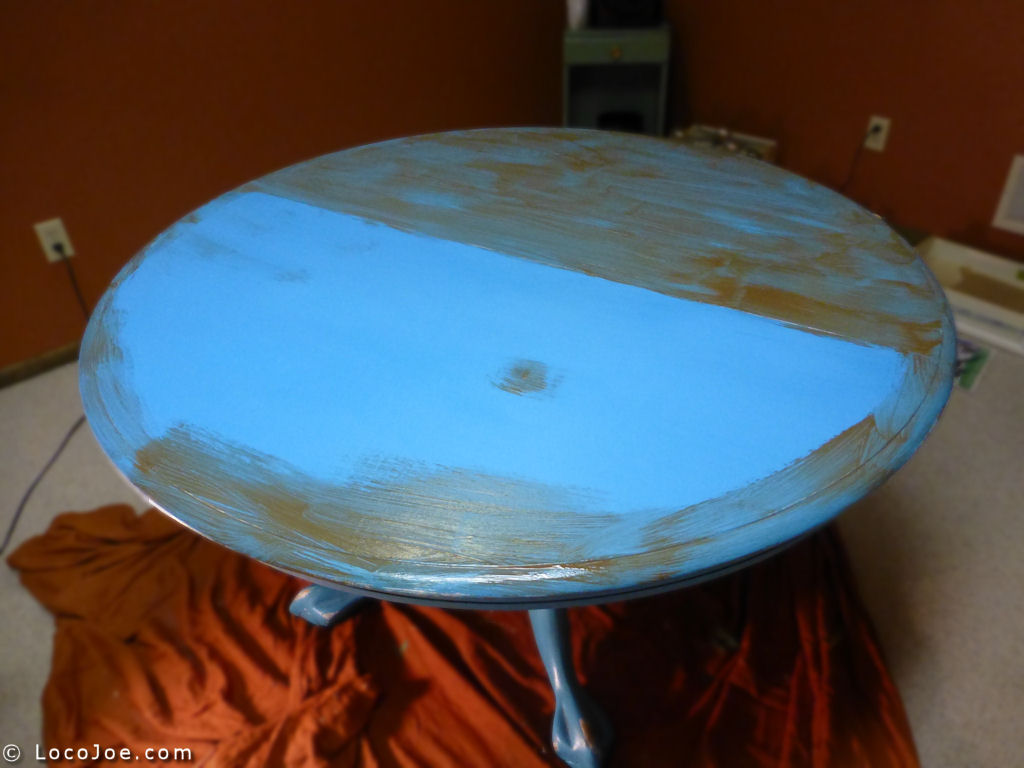
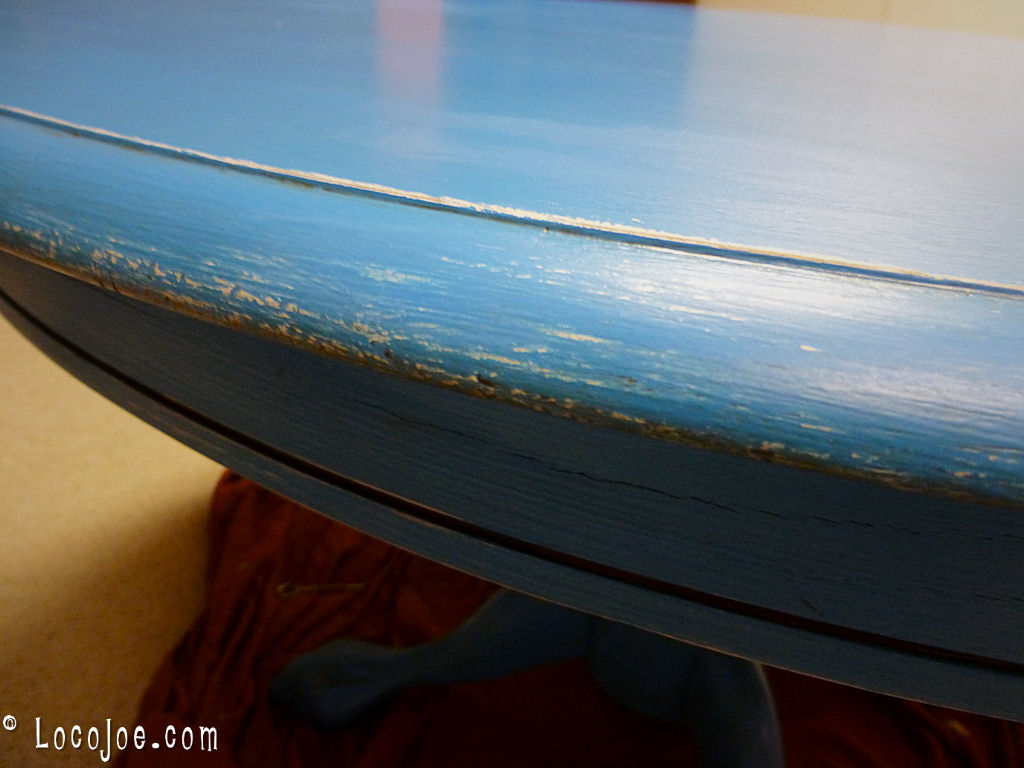
We found the above table at a Goodwill store. After sanding the table I applied a primer and then a base coat color of “Frivolous” blue and then sanded down to the primer and wood on some of the table to and leg edges. I then applied a chocolate glaze.

Family Furniture


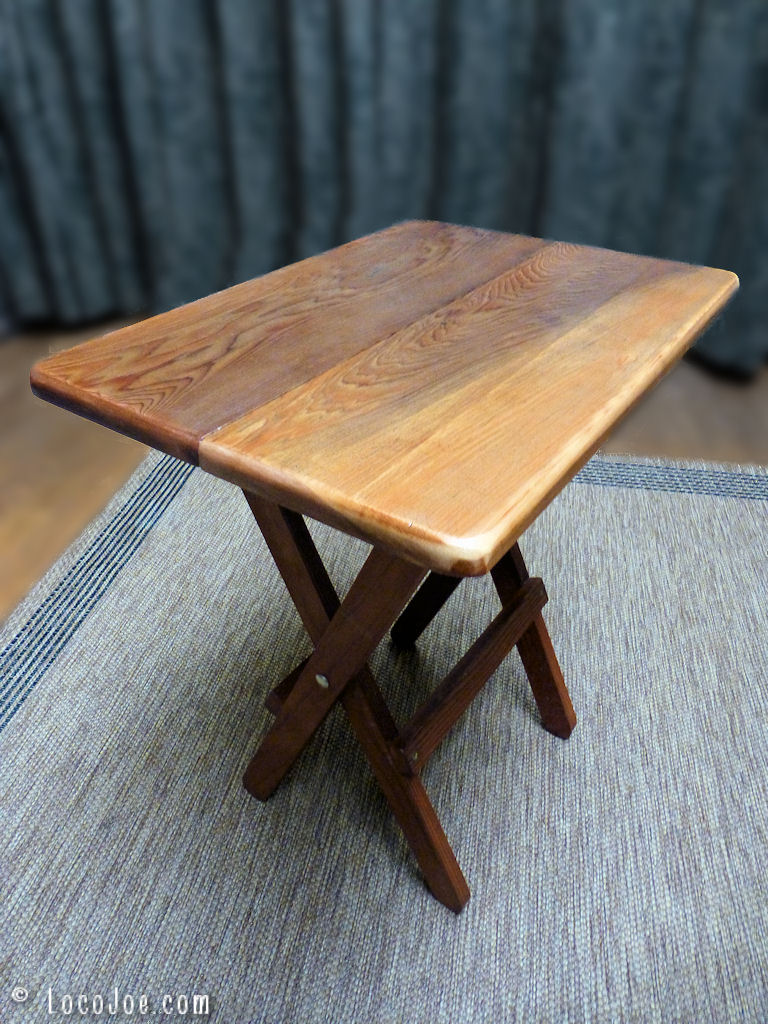
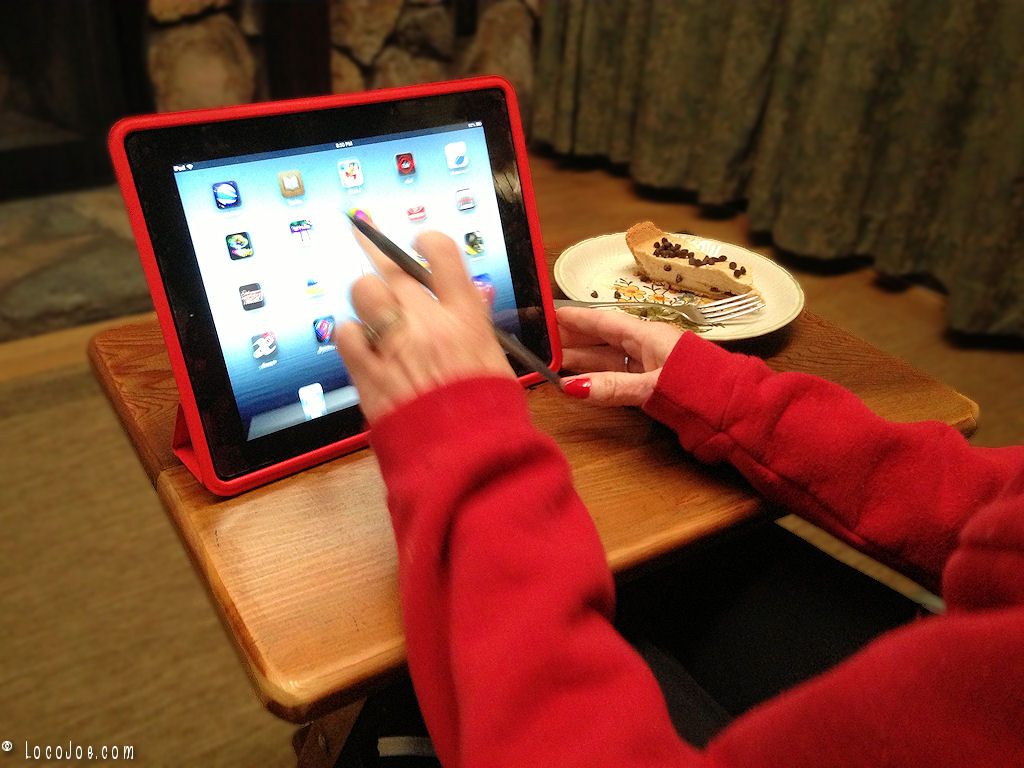
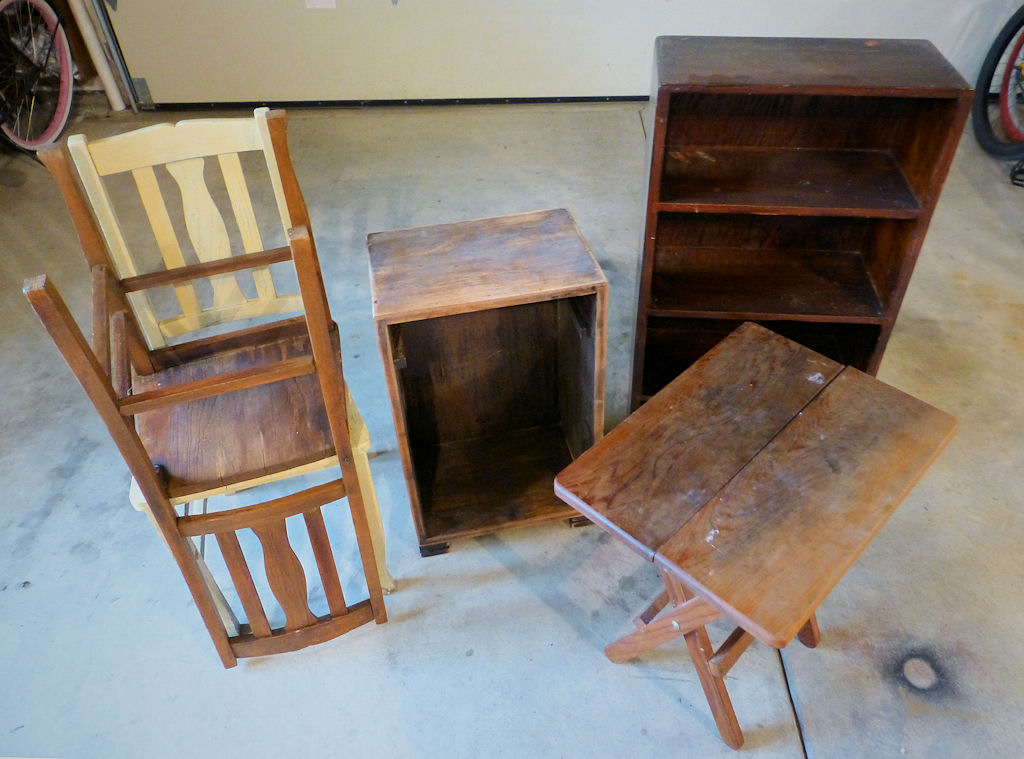
Pictured are furniture that I was recently given that belonged to a family member. The NightStand and Book Shelf were made in High School shop class nearly 60 years ago by an Uncle. The folding table “tv tray” I believe was made by a family friend. In the photo I have the drawer removed from the night stand and have already started removing the finish.


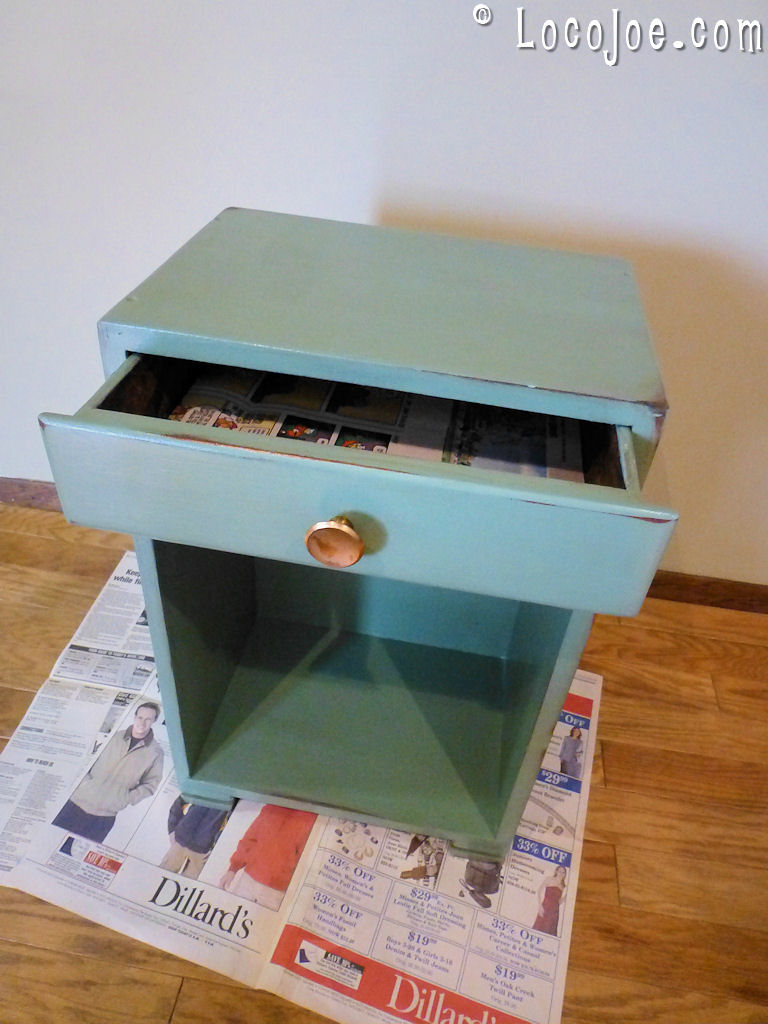
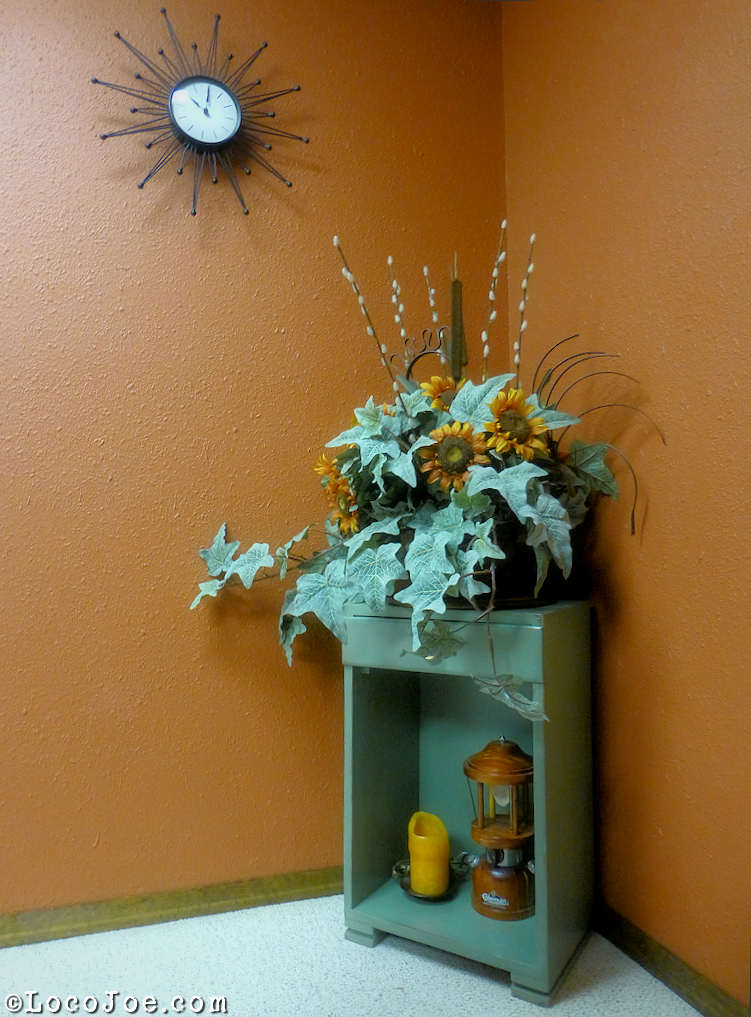
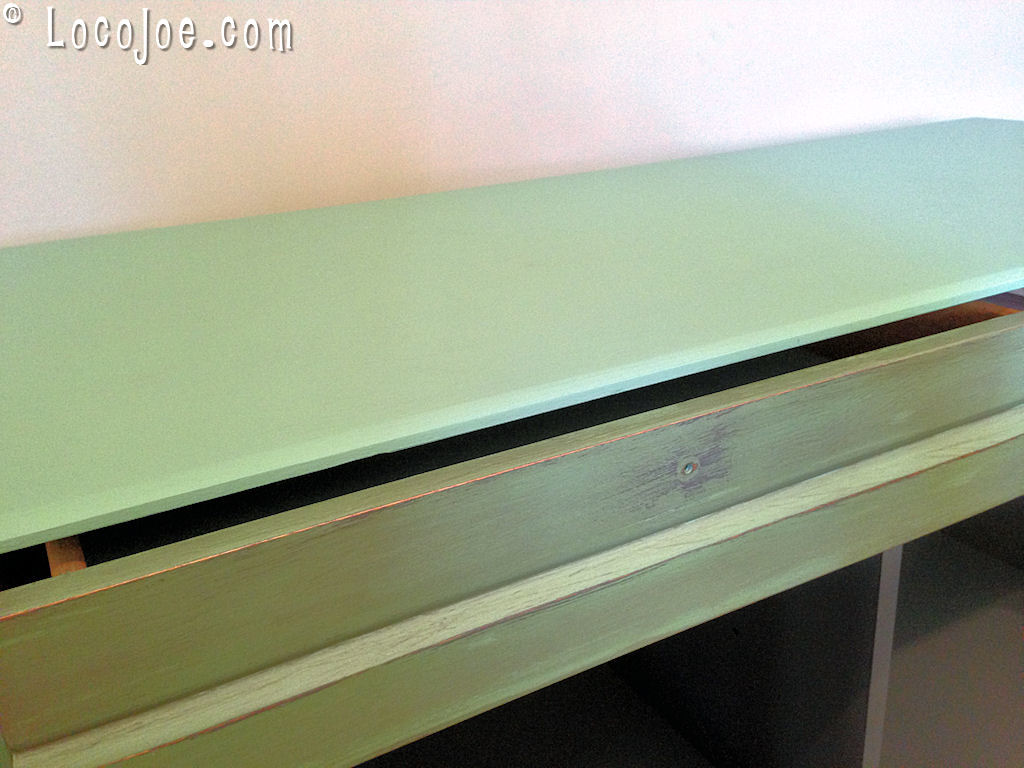
I decided to give the night stand a distressed painted finish. Some how we acquired several containers of Sherwin Williams sample paint. I picked one (Privilege Green) and gave the nightstand a couple coats with it. I then sanded through the paint to bare wood in some places. I hit the bare spots with a Minwax oak stain. I then gave everything a coat of Minwax water based clear.


The piece is currently in our basement “poker room”.

The Little Red Book Shelf


I found this little book shelf for $4.99 at a thrift store. It’s one of those pine, finish yourself, pieces of furniture. It had already been painted red but had a few spots where the paint was missing. I decided to hit those bad spots with a red spray paint I had on hand that was a little different shade. That’s when with the push of the nozzle, the cost of my cheap find just went up (Notice I said cost, not value). It was too cold to paint in the garage yet knowing it was a dumb thing to do, I did this quick little touch up in the house. Over spray from the rattle can got on the carpet. That’s when the cost of my $4.99 find went up dramatically. After many days and carpet cleaner solutions later, I did eventually get the paint out of the carpet. I liked the mismatched reds as it gave some depth/dimension/character to the paint (aka too lazy to paint the whole thing properly). We’ve placed it on the basement. Now what to put on it?

Side note: The red, blue and tan color scheme of the basement is the “in” look according to Ralph Lauren. Now that was many years ago… he may have changed his mind by now. Is he even still alive?… Google says Yes.

TV – Media Cabinet

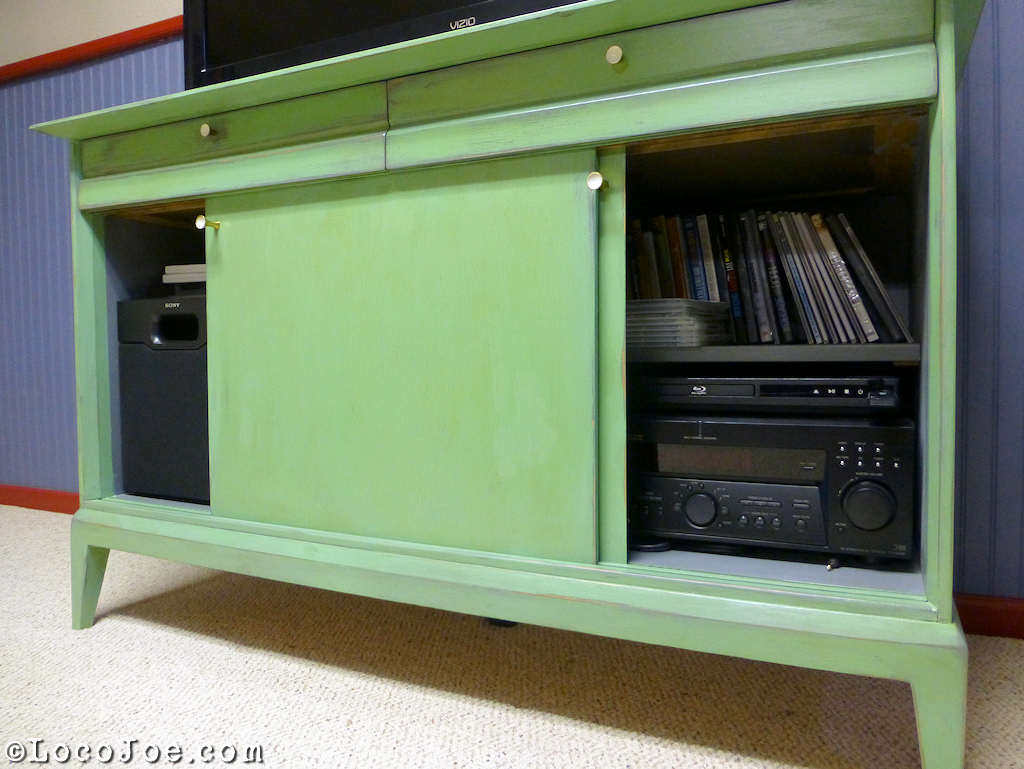
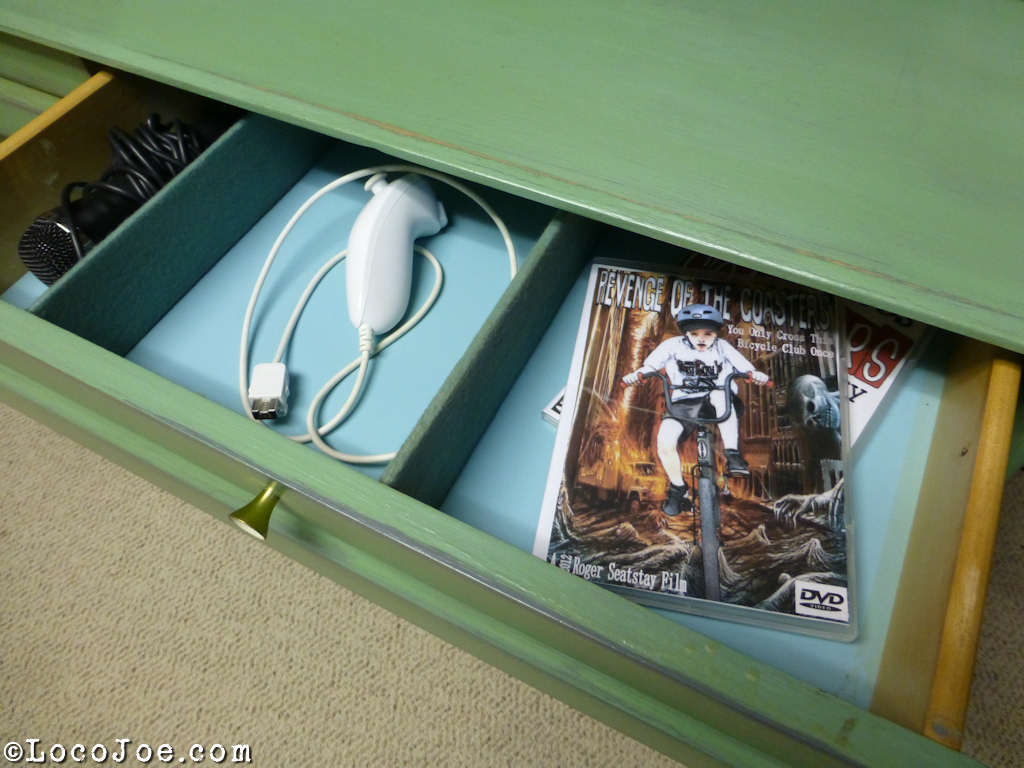
We’ve been needing a cabinet for our TV in the basement. Couldn’t find anything new at the stores that we liked or could afford. At an antique store we spotted an old buffet from late 50s early 60s (I’m guessing). The price was right so we brought it home and I gave it a make over to give it a distressed paint look. My first time doing something like this.

As it sat in the antique store.

After sanding off the old worn finish and applying a grey base coat.

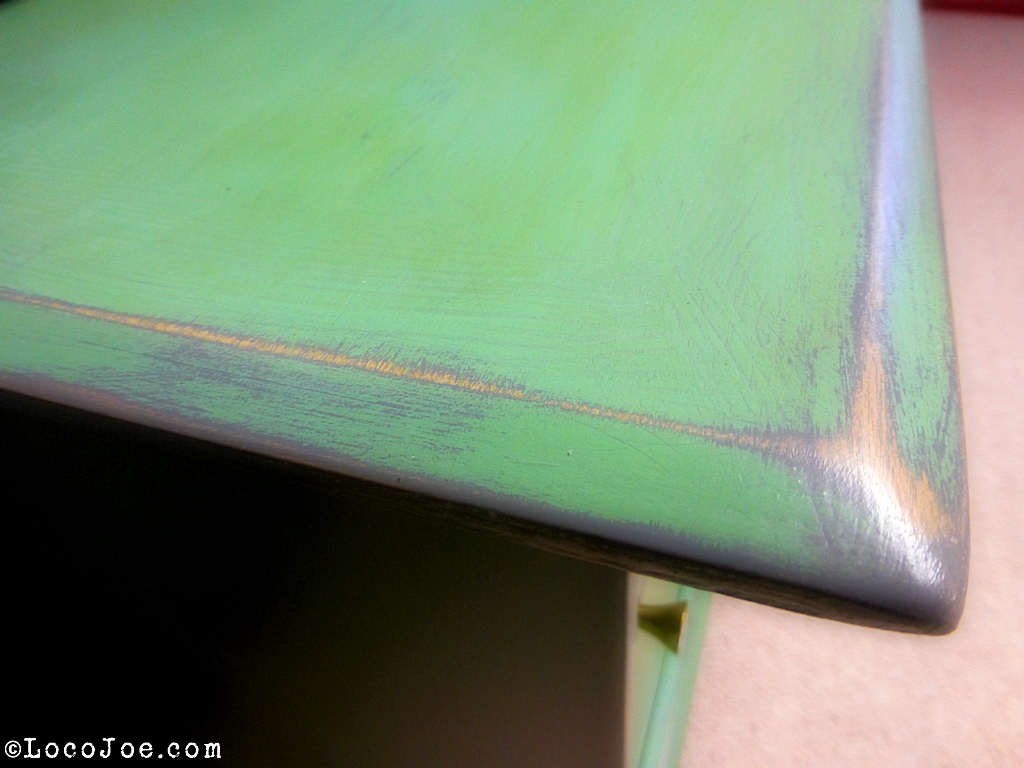
I then painted it green, sanded through some spots and applied a light wood stain over the sanded spots.

Finished with a clear coat.

Not the best job at distressing but good enough.

Box Fan Blade Sunflower

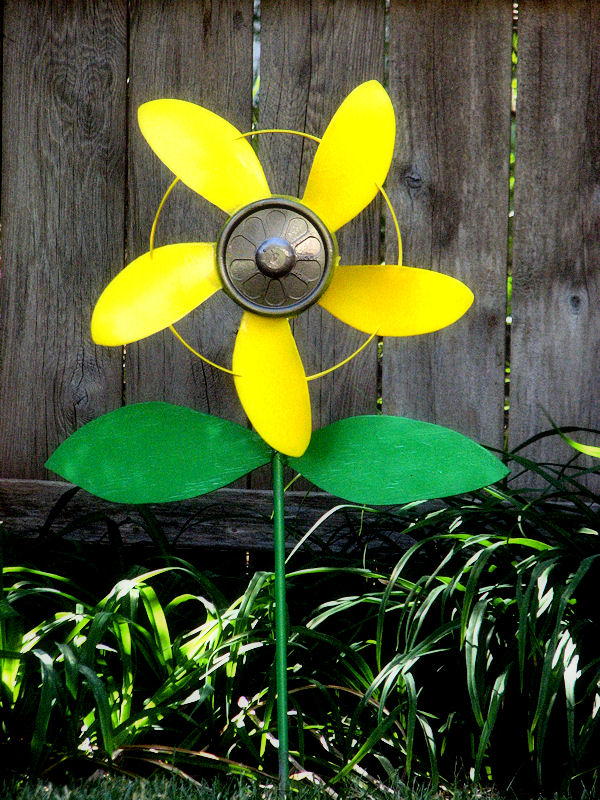
I made this Sunflower pinwheel out of the plastic blade from a broken box fan, a bicycle pedal, a steel rod and scrap of plywood. The fan/flower is just pressed on to the bolt/axle of the bicycle pedal which is connected to the rod. The flower spins when the wind is the right direction. I should have taken the time to make the flower pivot on the rod also but didn’t. Maybe sometime I will. The leaves are one piece cut out of thin plywood and attached to the rod with zip-ties.