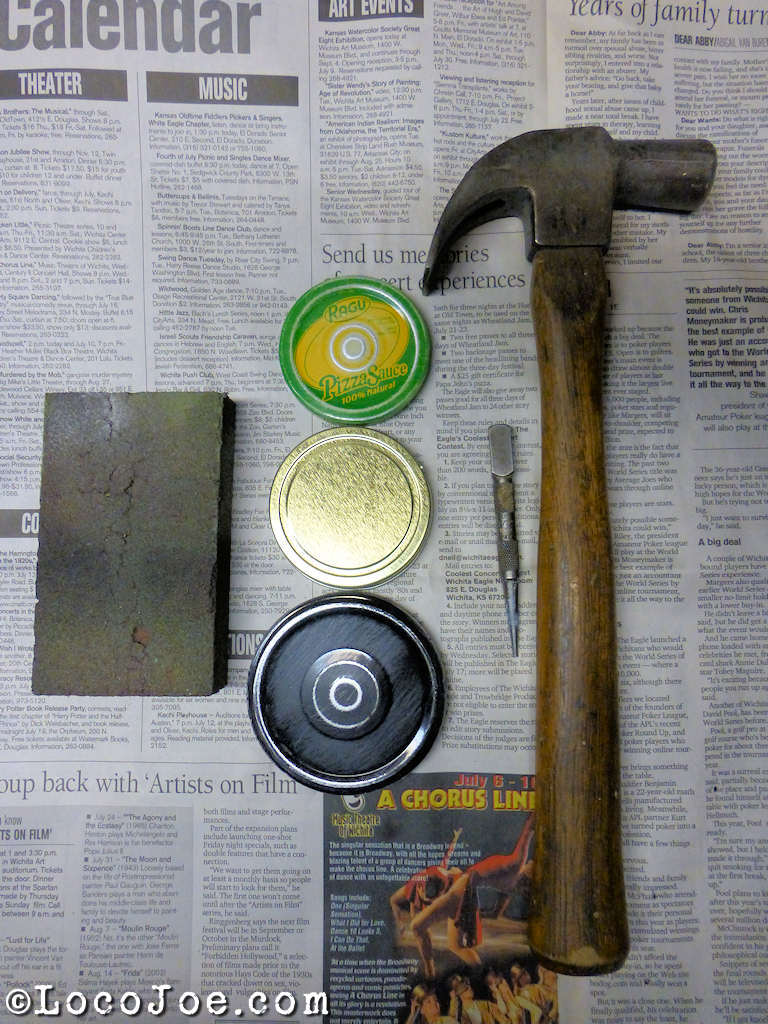
I made this snowman from jar lids, twigs, buttons, scrap material for scarf, sock for the hat and push pin nose. I punched holes in the lids and bolted them together.
Category Archives: DIY
Holiday Decorations From Bicycle Parts
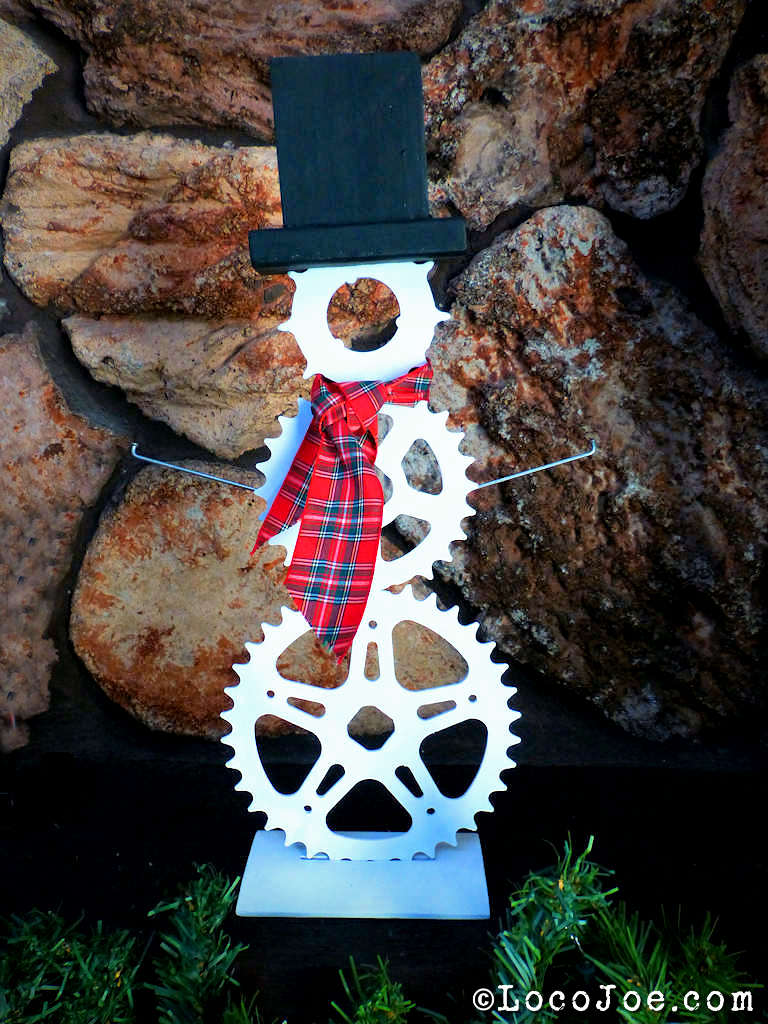 The snowman I made from sprockets and spokes. The sprockets I welded together then painted. The spoke arms are just hot-glued on. I wrapped him in a ribbon scarf and stuck him in a piece of painted door trim. The hat is 2 pieces of scrap wood painted with a slot cut in the bottom.
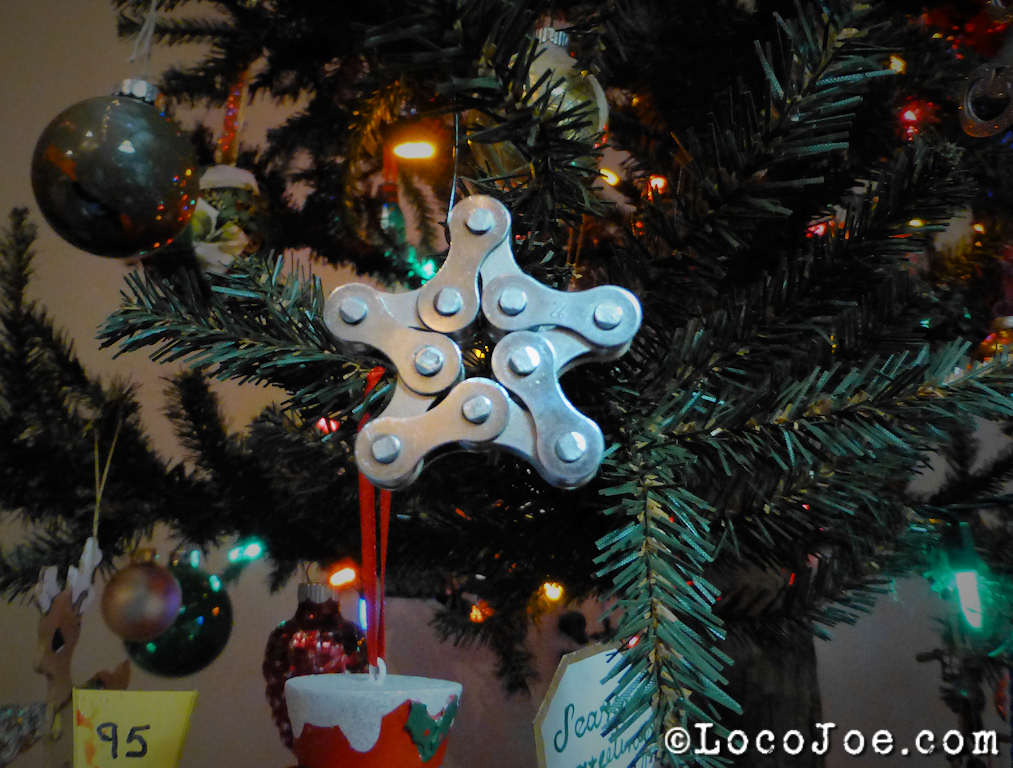 This star was harder than it looked. I wrestled with it quite a bit to get the shape. I used a chain tool to offset the pins to hold its shape.
Ceramics
Tin Can Snowman
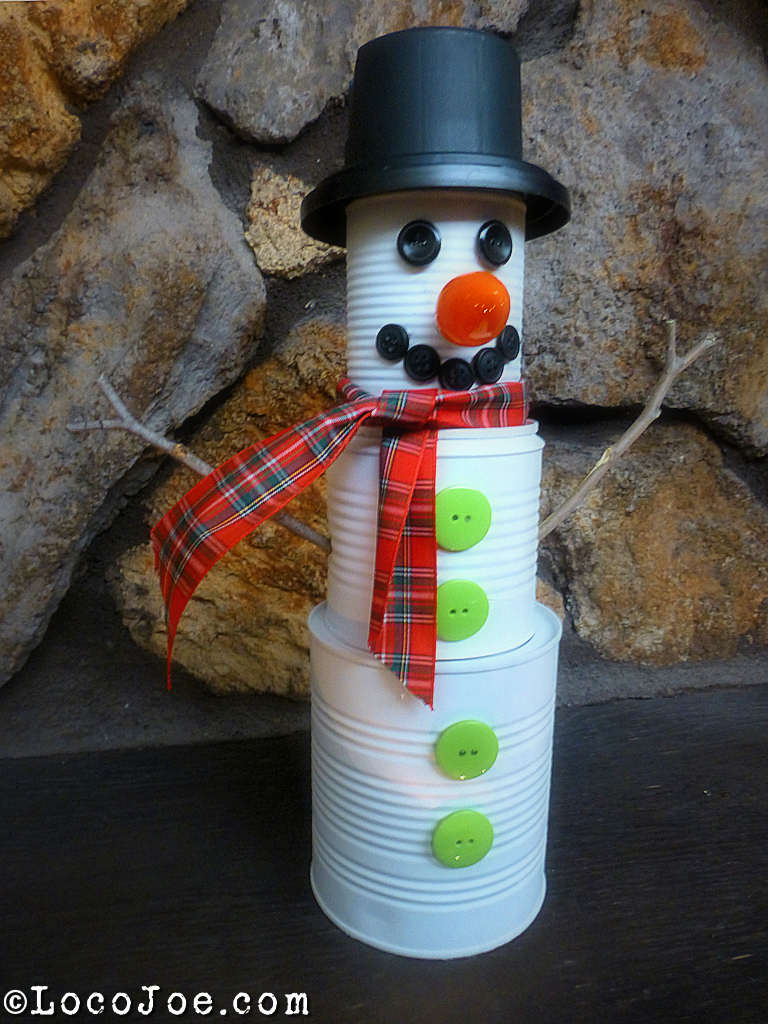
I made this Tin Can Snowman today. His body made from various sizes of tin cans and painted white. His arms are twigs, his nose a light bulb and his hat is made from the lids of a spray paint can and a small plastic coffee can. I drilled holes through the bottoms of the tin cans and then ran a long zip-tie through the holes securing it with the end of another zip-tie. Everything else is hot-glued together.
I got the idea for making him from here.
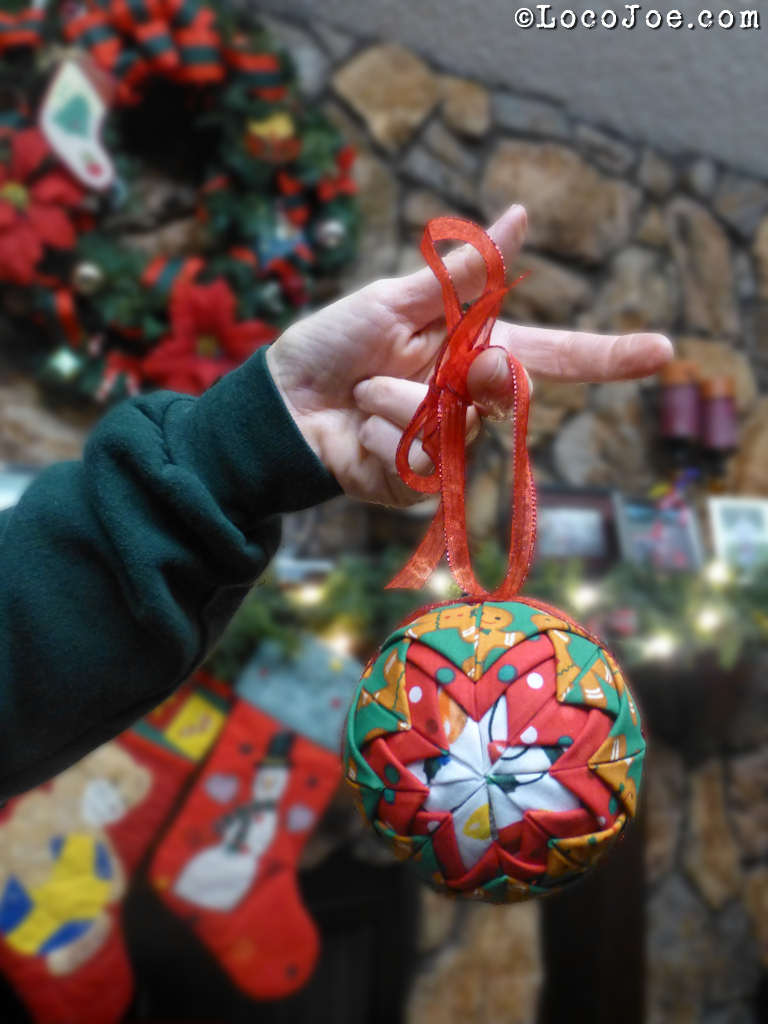
Fabric Christmas Ornament
Nova & her Sister made these ornaments from a foam ball and material following instructions found on youtube.
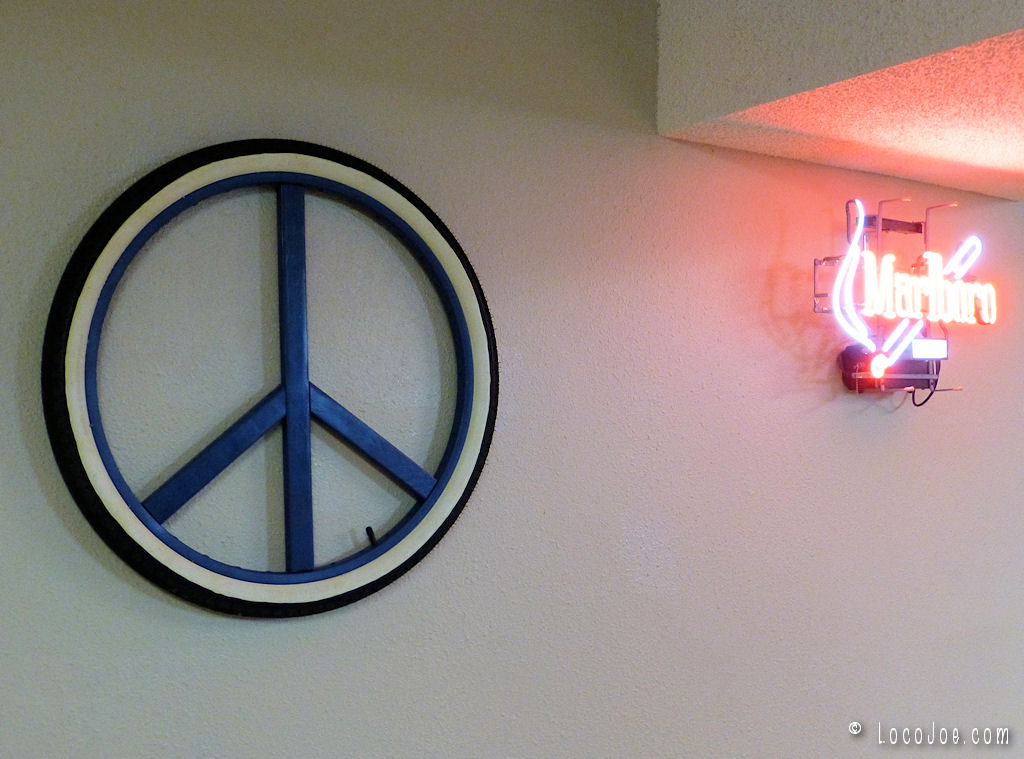
Bicycle Tire Peace Sign
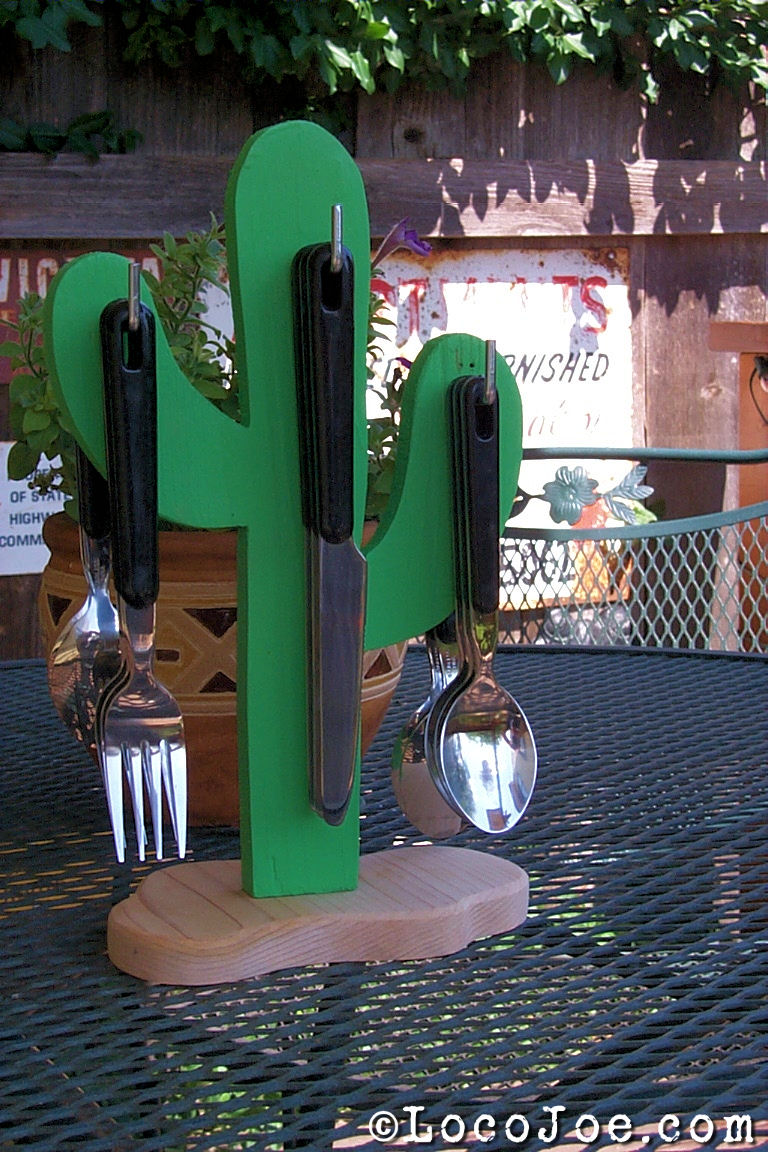
Cactus Silverware Caddy
I just came across this photo of a silverware caddy in the form of a cactus that I made for our patio table many years ago. I don’t have a clue whatever happened to it.
Small Book Shelf Re-Do
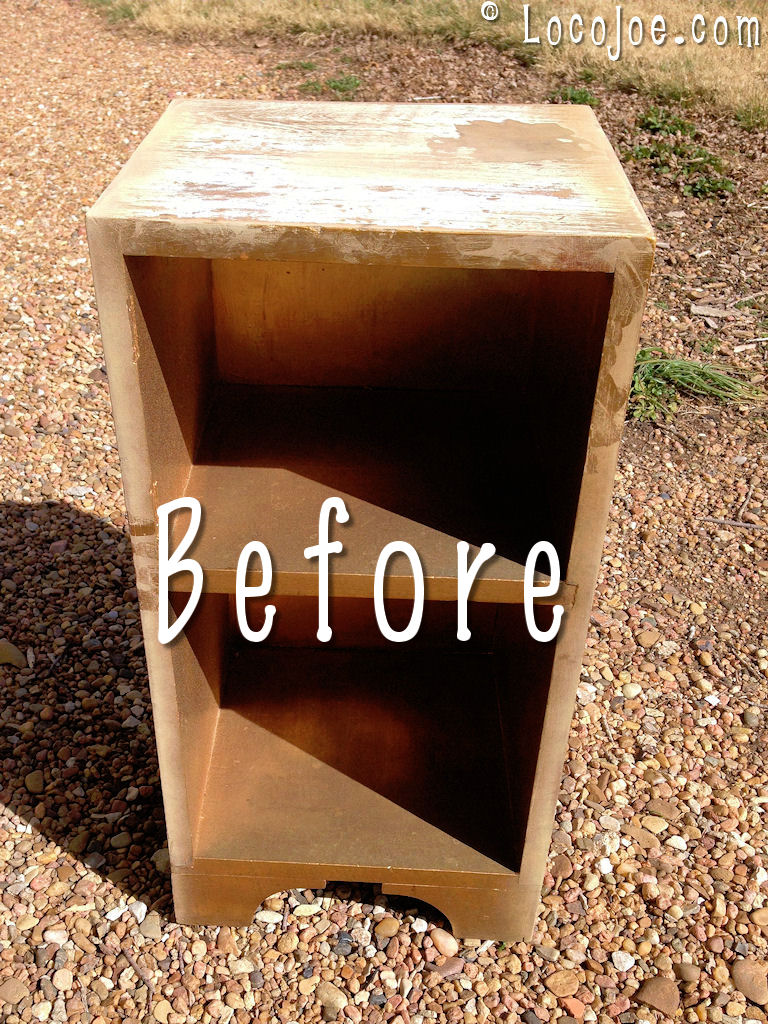
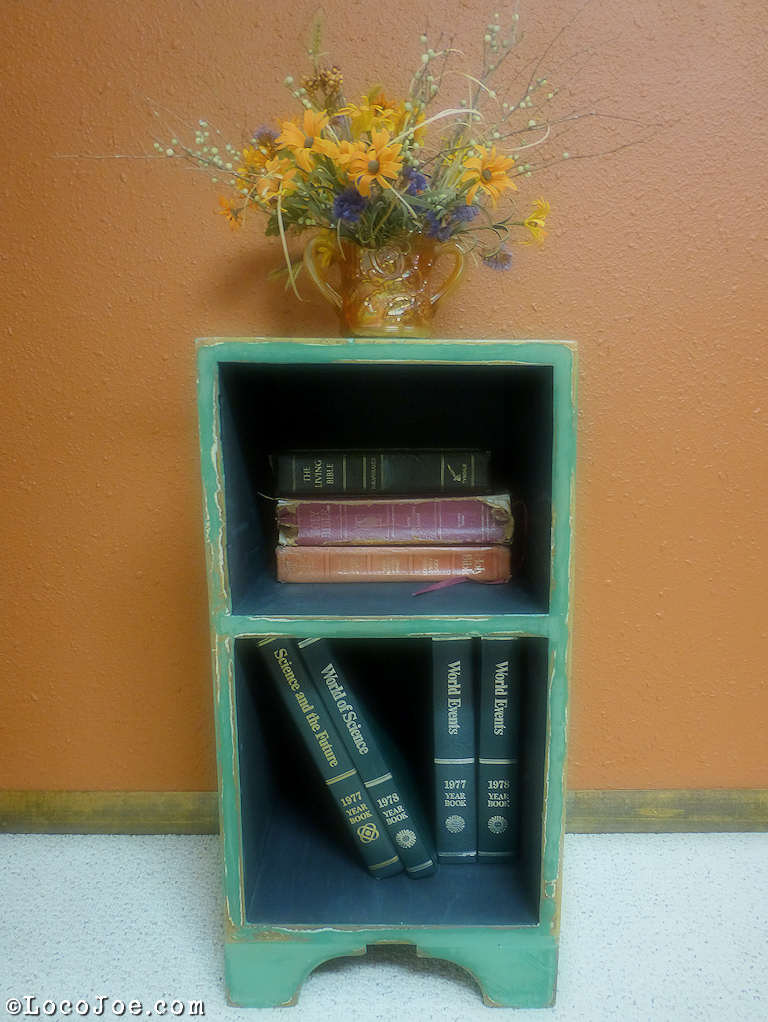
I was recently given this little bookshelf that was made by a family member in the early 50s in High School shop class. It had since been painted gold.
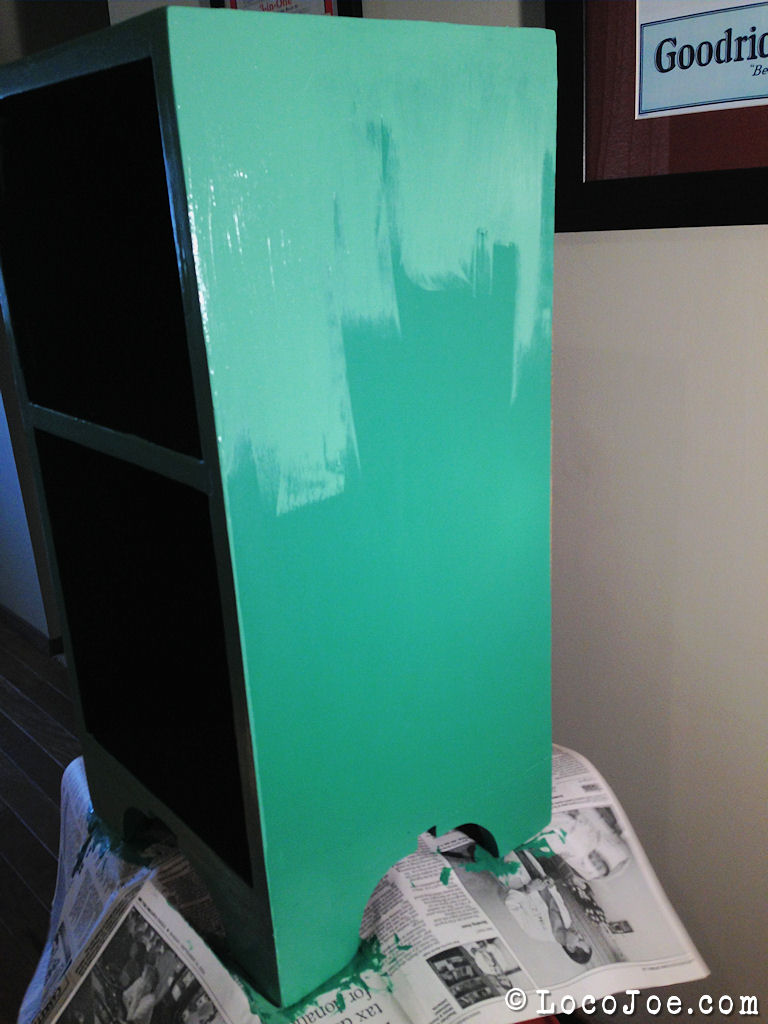
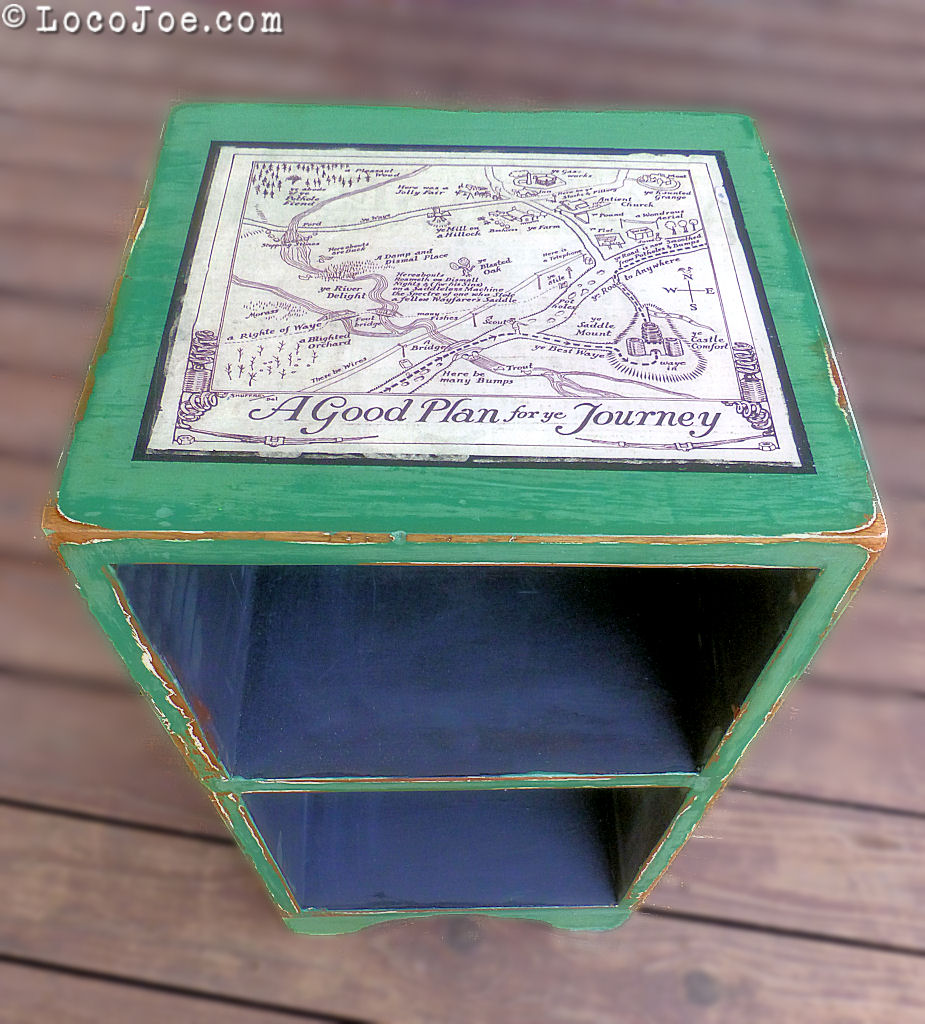
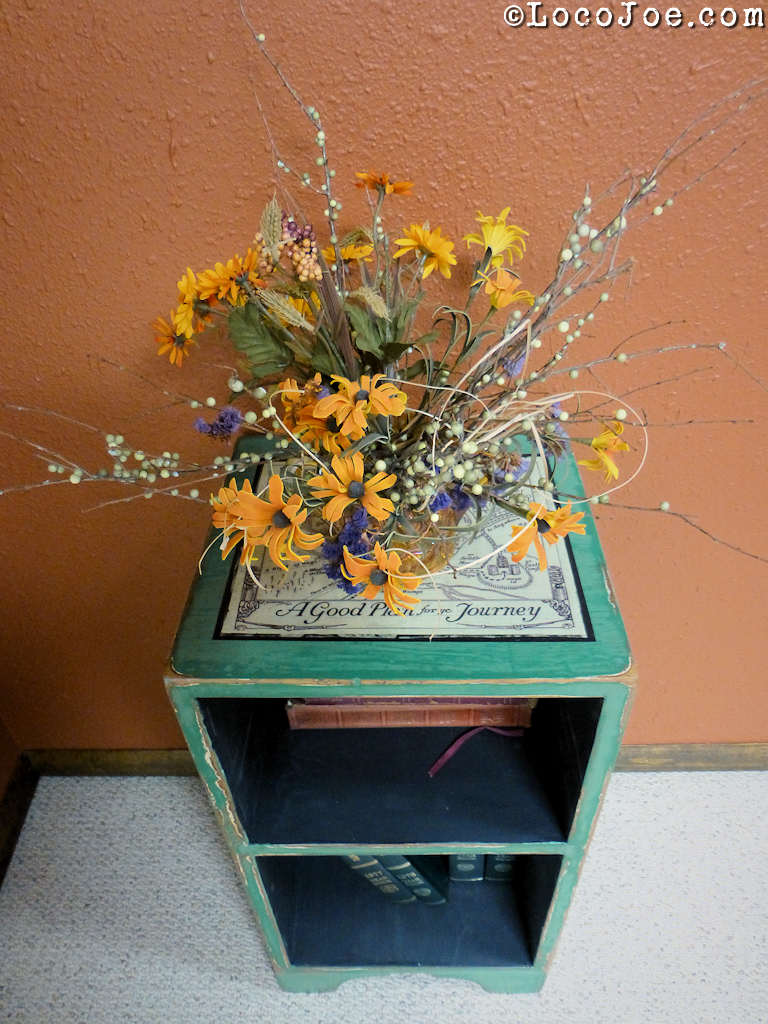
I gave the exterior a coat each of 2 shades of green chalk paint that I mixed up. The interior received chalkboard paint as that was the only black I had on hand. I then sanded the exterior down to distress it.
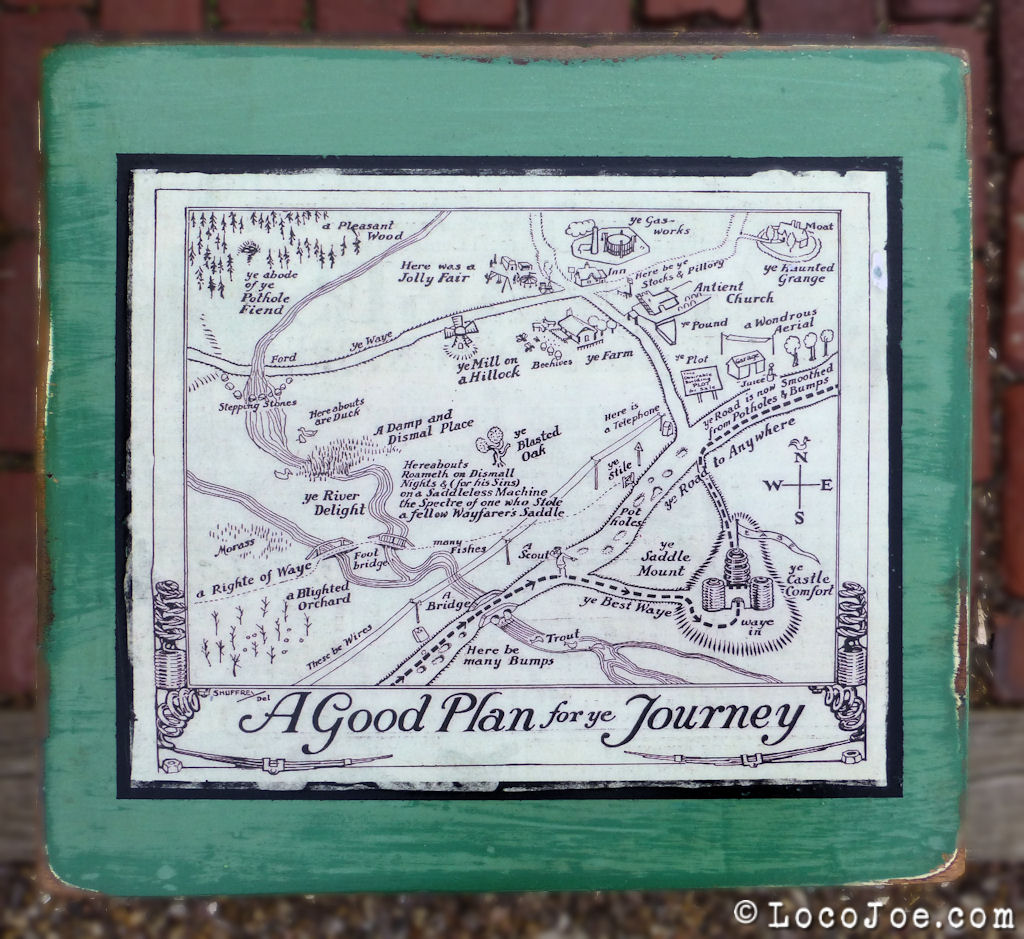
Next using Modpodge I decoupaged a map that I cut out of The Bugle (a publication by the Brooks bicycle saddle company).
I painted a black border around the map and sanded it slightly. Finally I covered the exterior with several coats of Minwax Polycrylic.
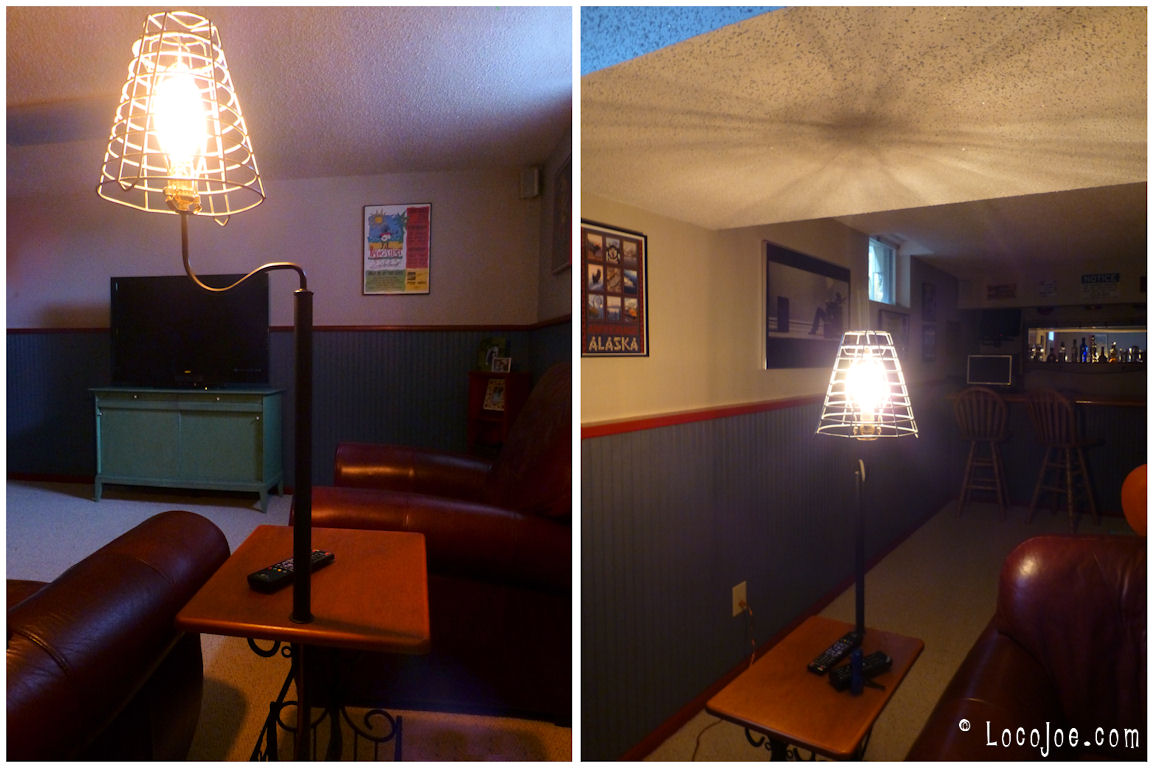
End Table Lamp With Golf Ball Bucket Shade
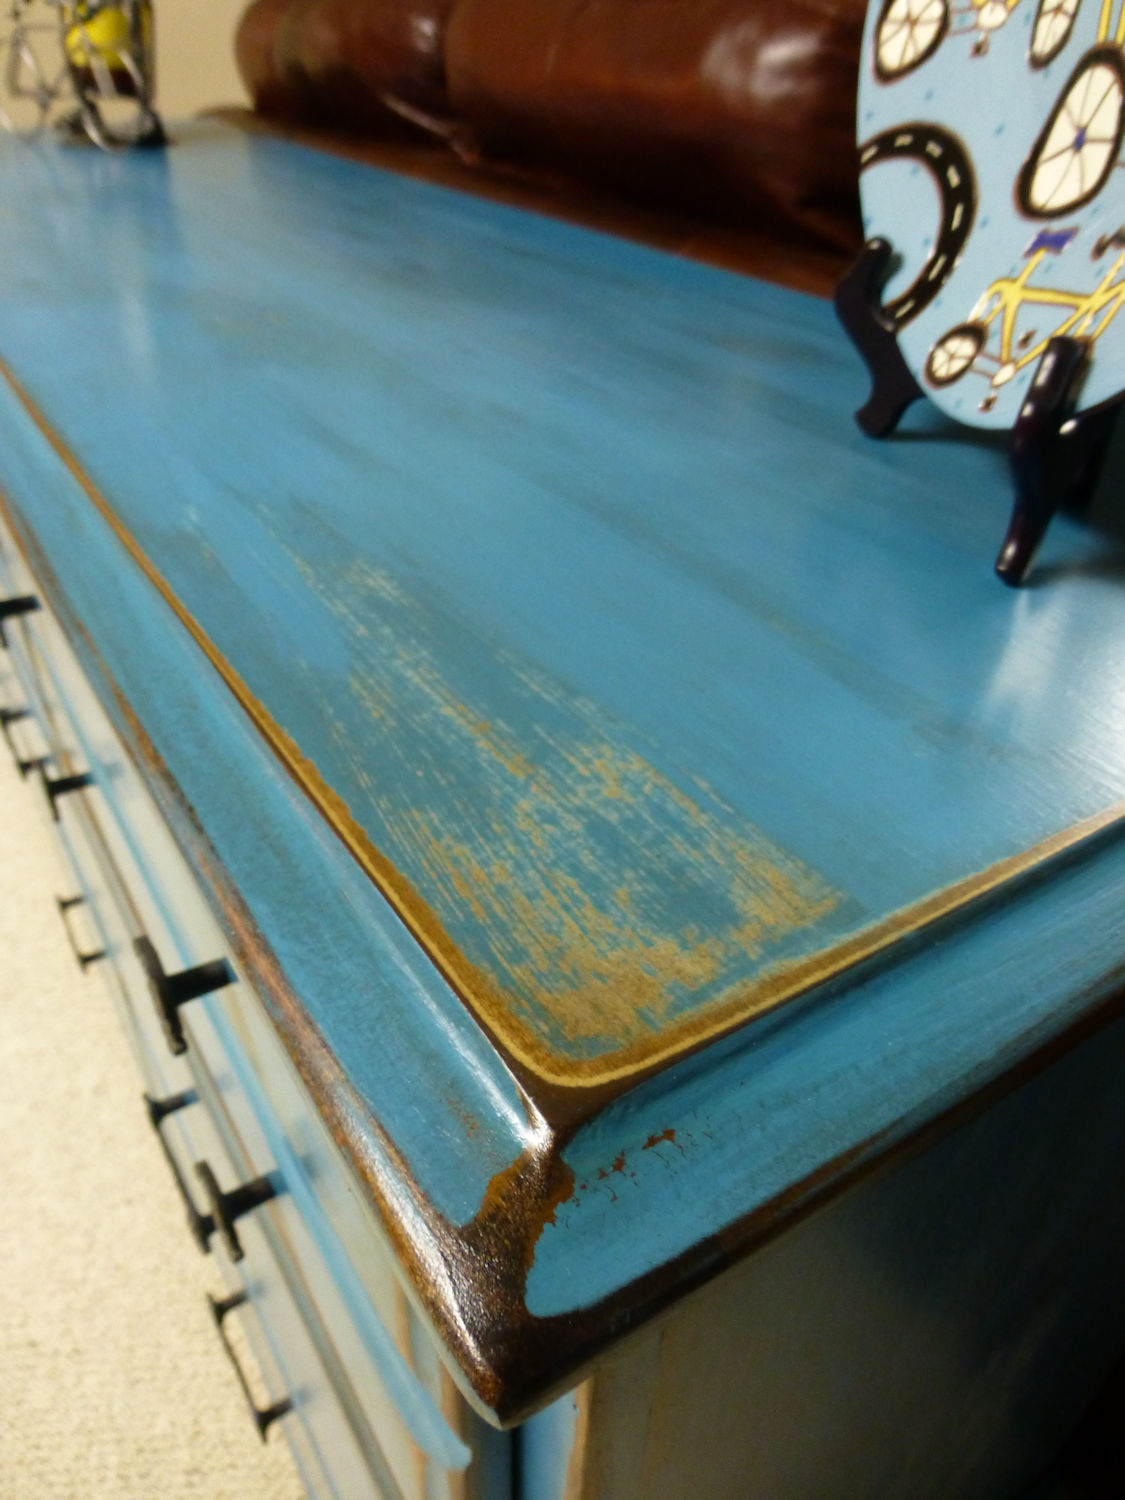
Dresser To Sofa Cabinet Re-do
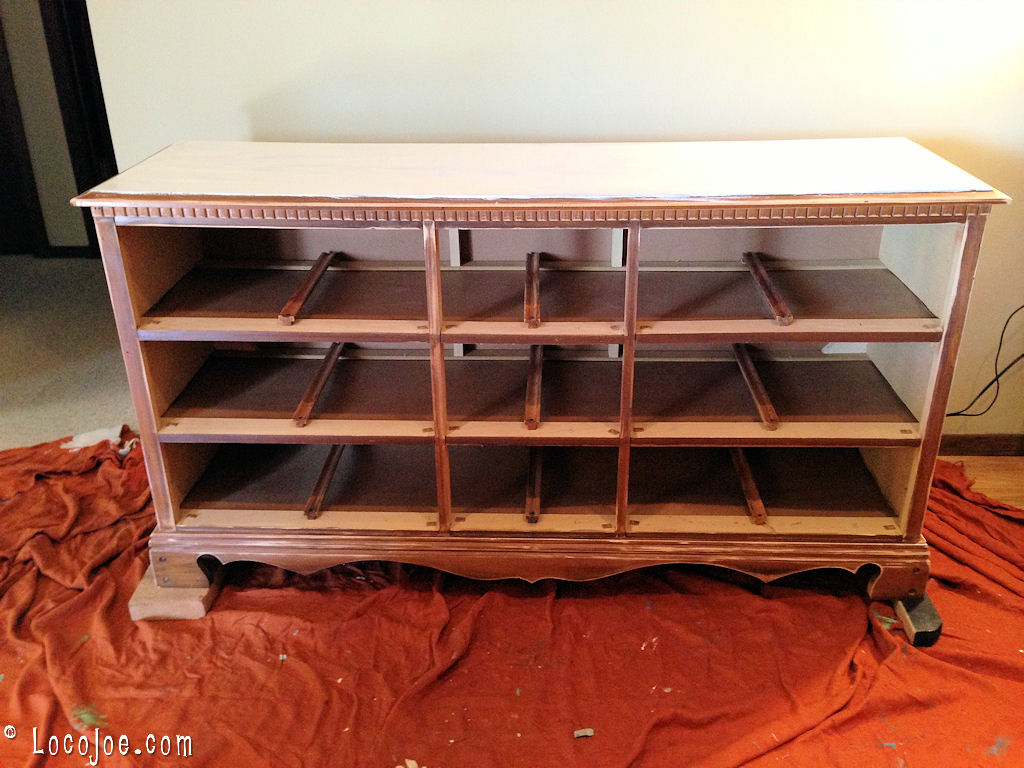
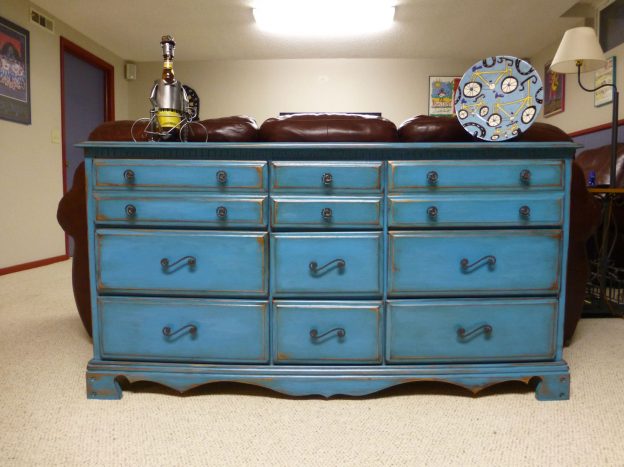
We’d been looking for a piece of furniture to put behind our Sofa in the “big room” in the basement to replace a folding table and chairs. The folding table was was used frequently for crafts, puzzles etc… but looked tacky. Our original intent was to replace it with some other type of table even if it required me making something. Then we had the opportunity to get this old dresser for free so we nixed the plan for the table and decided to go with the dresser.
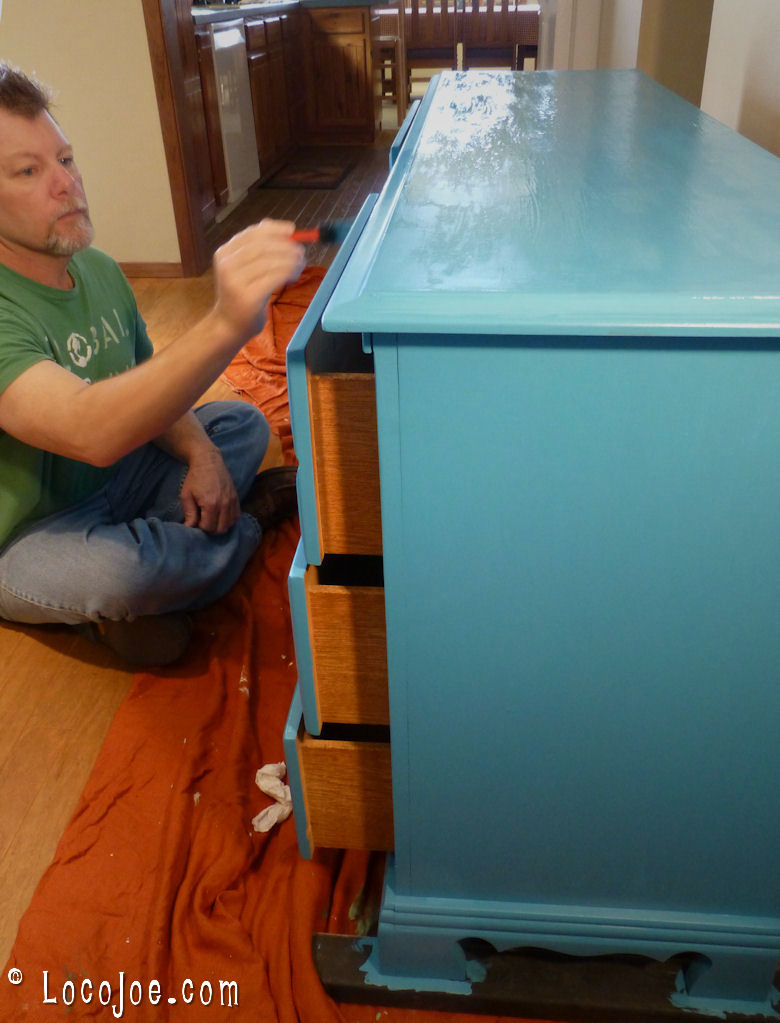
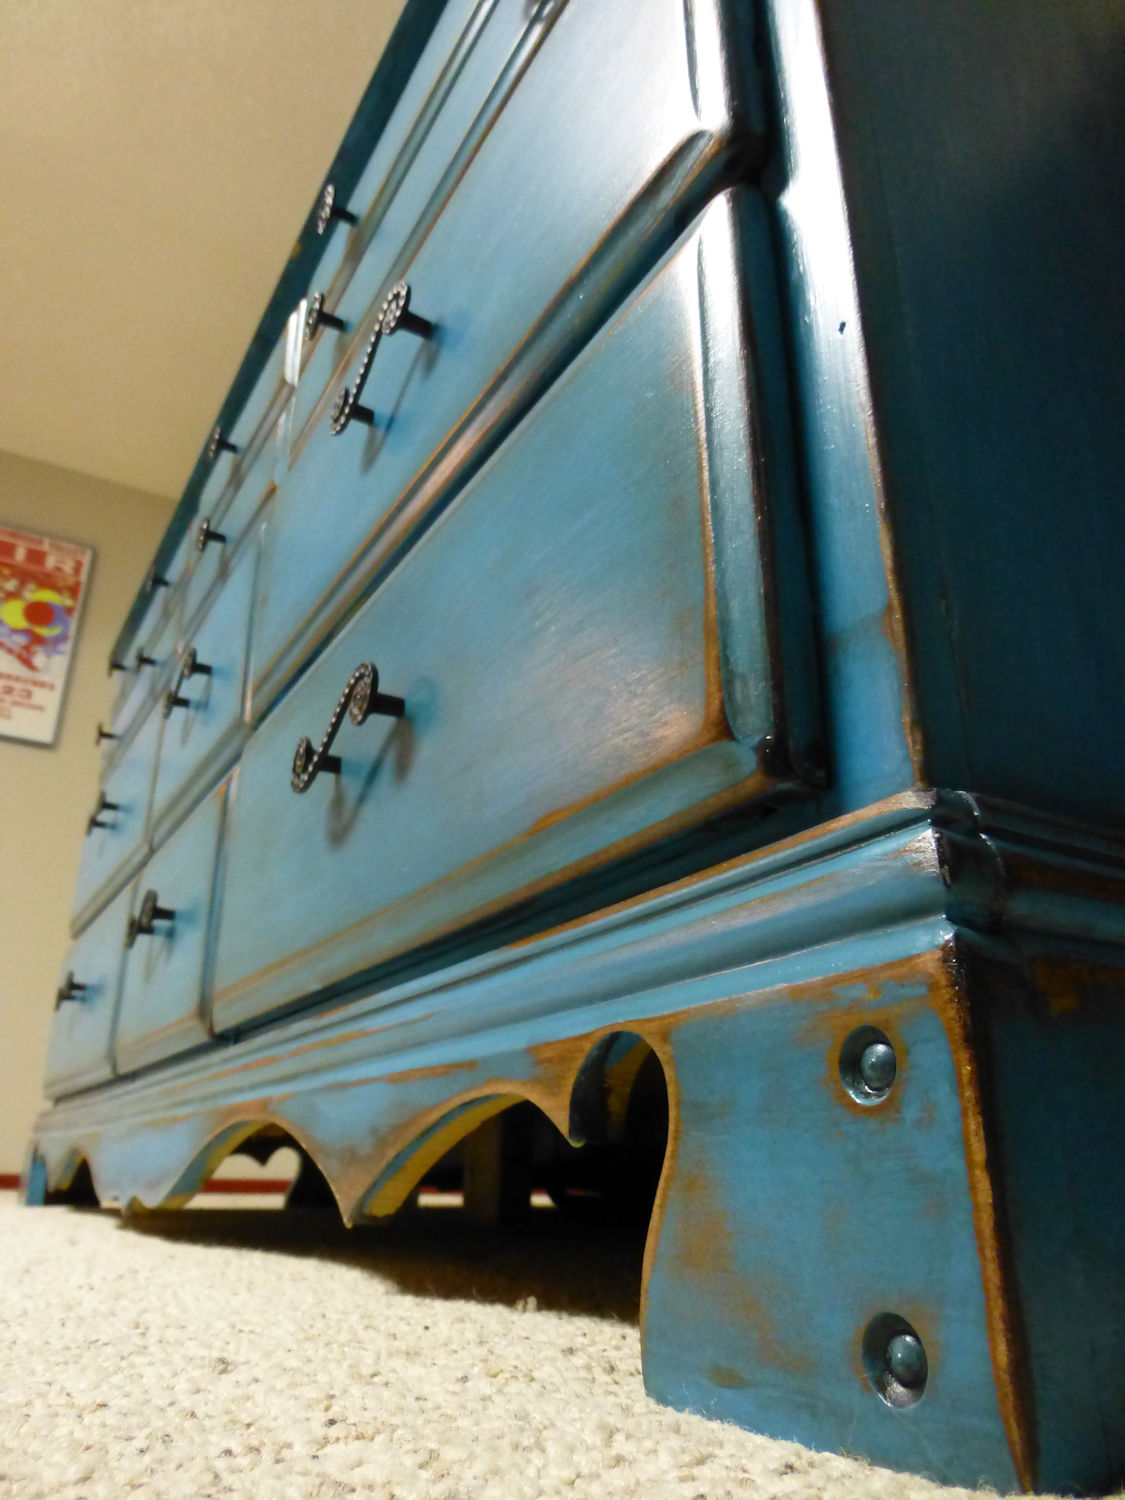
We wanted to give it a distressed paint look so I started by sanding off the finish and in some places through the finish and stain to the bare wood. I then primed the top and sides which were some kind of veneer. Next I applied an Olympic paint in the color of “Safe Harbor”. Once the paint dried I sanded it again, heavily on the edges and down to the bare wood. I started to go over it with a chocolate glaze but got impatient waiting for the glaze to dry/soak in so I switched to a Minwax mahogany stain and covered the entire dresser. I let the stain sit longer on the bare wood than I did the painted areas before wiping it off. For a clear coat I applied a couple coats of Minwax water based Polycrylic.
The finishing touch was new knobs and pulls.


