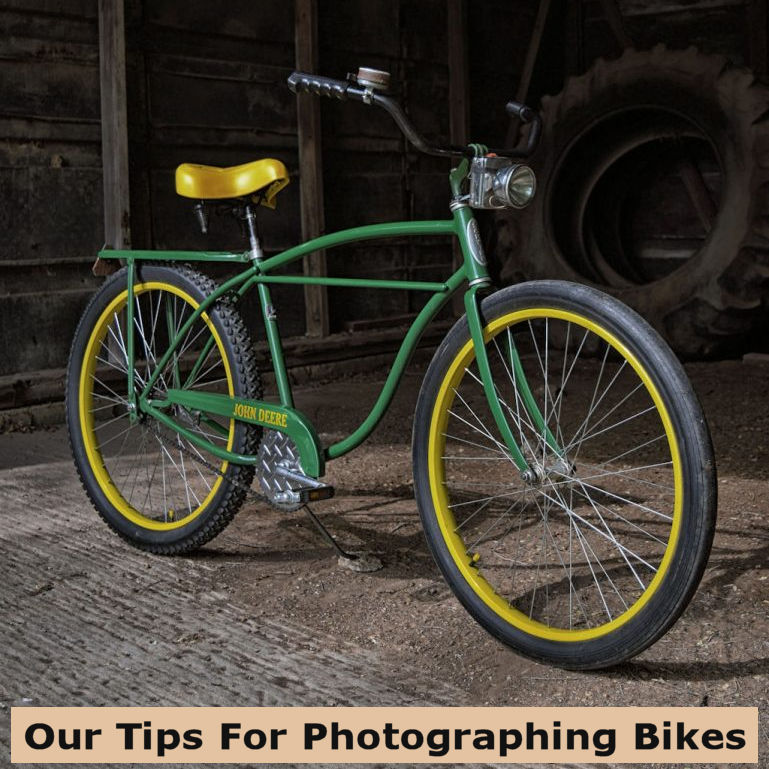
I thought I’d share some of my photography tips that I believe make for better bike photos. The title should really read ‘How I Photograph A Bike” as I am not an expert on photography nor bikes. These tips are for photos that aim to show off the bike only, not the bike and it’s location and/or rider.
Drive side out!
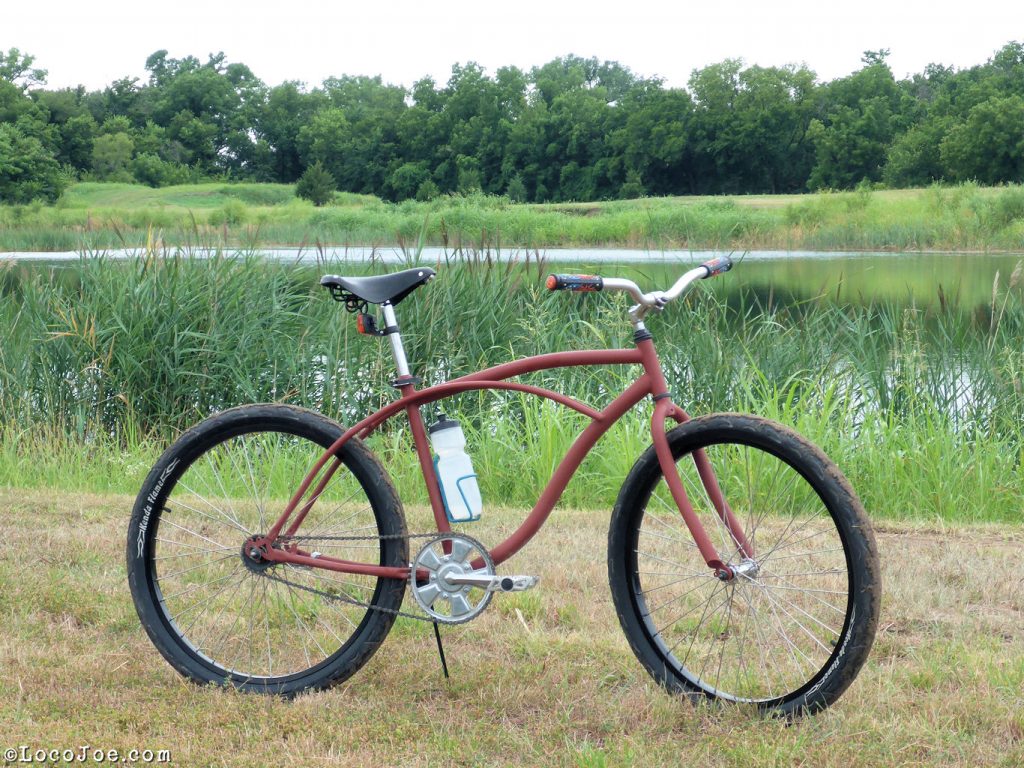
Probably the most important thing in photographing a bike and the mistake most often made. Bikes look awkward from the non-drive side. Show off that sprocket and/or chainguard.
Background.
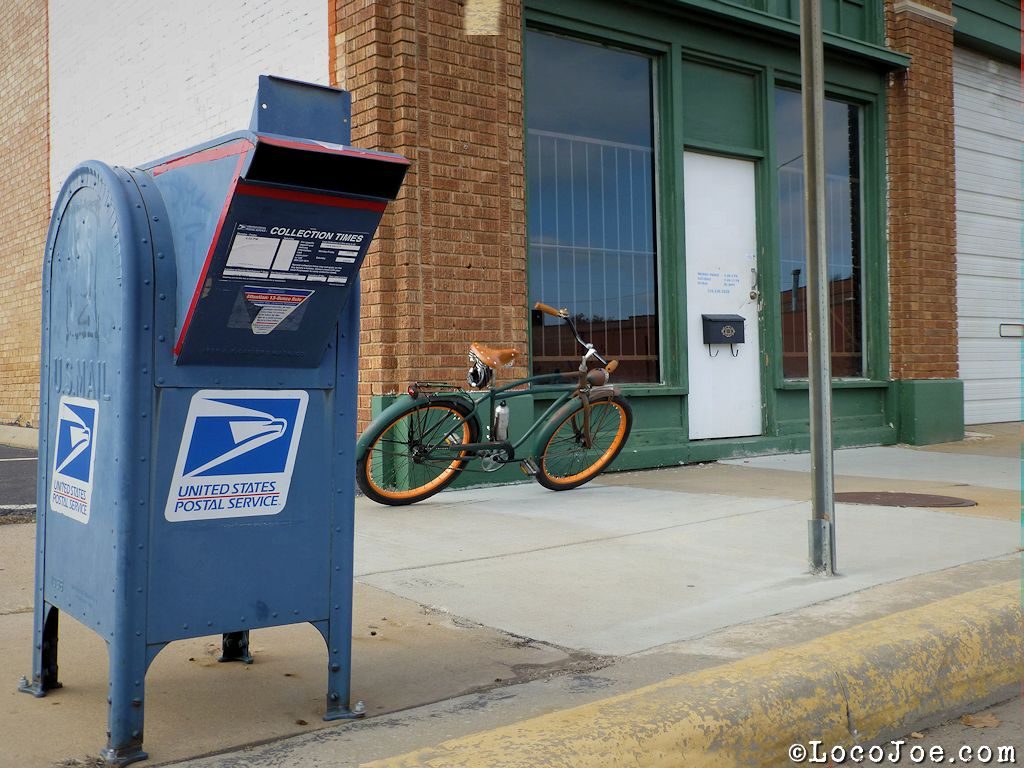
Check your background. Non cluttered backgrounds will allow you to make out the details of the bike better. Building walls are a favorite background of mine. If the building is brick or has horizontal and/or vertical lines, you will want to make sure your camera is really straight both horizontally and vertically. If you have no choice other than a cluttered background, distance the bike from the background if possible to help get bokeh (background blur).
Set up straight. No leaning.
I like to keep the bike as upright and straight as possible. I will generally prop a bike up against a wall using the (left) end of the handlebar. I believe it makes for a better photo when the bike is not leaning.
If you must lean.
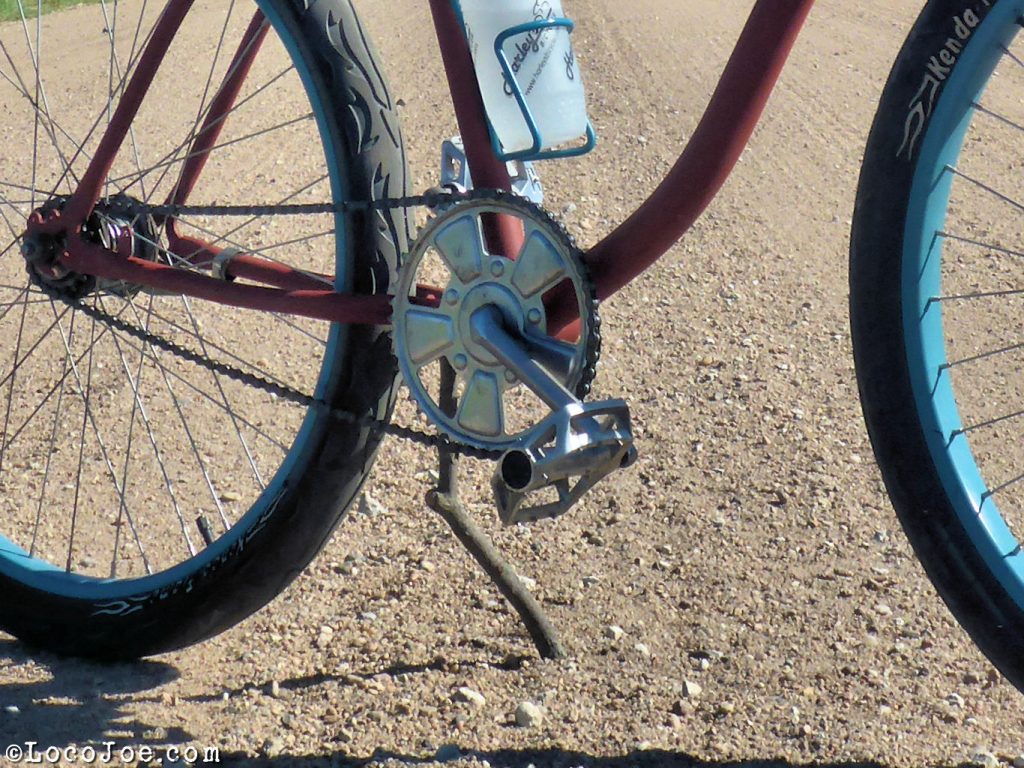
Kickstands are great when parking your bike but don’t make for the most flattering angle of the bike for photographing. If I do use the kickstand I generally place something under the kickstand so the bike isn’t leaning as much. A rock, stick or even my wallet (which I’ve went off and left so I don’t recommend that) will help in putting the bike in a more vertical position. This also aids in keeping the kickstand from sinking if you are on soft ground. If the bike still has more lean than I think looks good, I find that shooting the bike from a slight angle and turning the front wheel slightly toward the camera looks better.
Crank position.
Position the crank so the arms aren’t intersecting with the tubes of the bike. I generally place the crank arms around the 3 o’clock and 9 o’clock position if no chainguard (the right crank at 3 o’clock) and at 4 & 10 if the right crank arm and pedal interfere with the chainguard. You may want to position the pedals so they are level horizontally.
Tires.
If your tires have lettering spin the wheels around where the writing is legible and not obstructed by the frame/fork or grass. Place the valve stems at the same position (i.e. bottom) on each wheel.
Other things to watch for.
Pay attention to where shadows fall. If the bike is against a wall and the sun is low and behind you casting shadows on the wall behind the bike. It can be hard to differentiate what is actual bike and what is shadow.
Handlebars intersecting with seat or top tube when shooting from front or rear. Adjust your position up or down.
More is better.
This is the digital age. You’re probably not paying to have film developed. Take many photos. It betters your odds of getting a good one. For every one photo I keep there are probably 10 or more that get deleted.
Gear.
Don’t blame poor photos on the camera. Even smart phones have excellent cameras now. Most all my photos are taken with my Iphone. More important than what you shoot with is taking an extra moment to think about and compose your photo.
Photo examples…
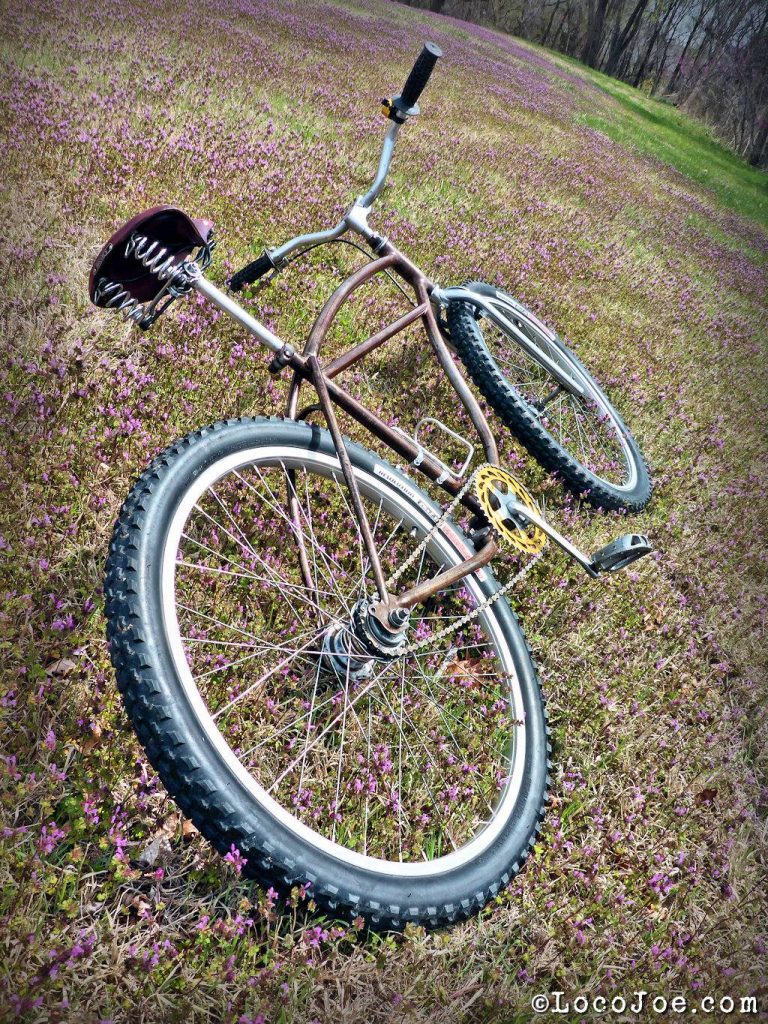
Here is a not so good photo.
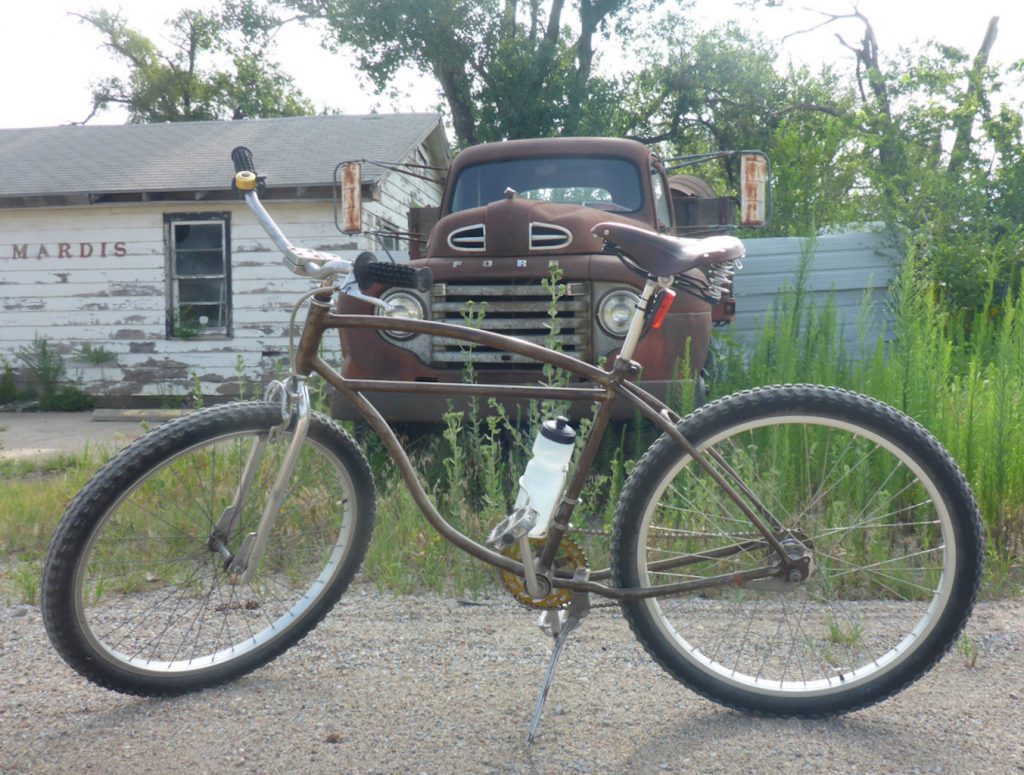
I generally take 3 full bike photos and maybe some detail shots. For the 3 full photos I take one from the (drive) side trying to keep as straight both vertically and horizontally as I can, then photos from the front and rear each at a slight angle not straight on.
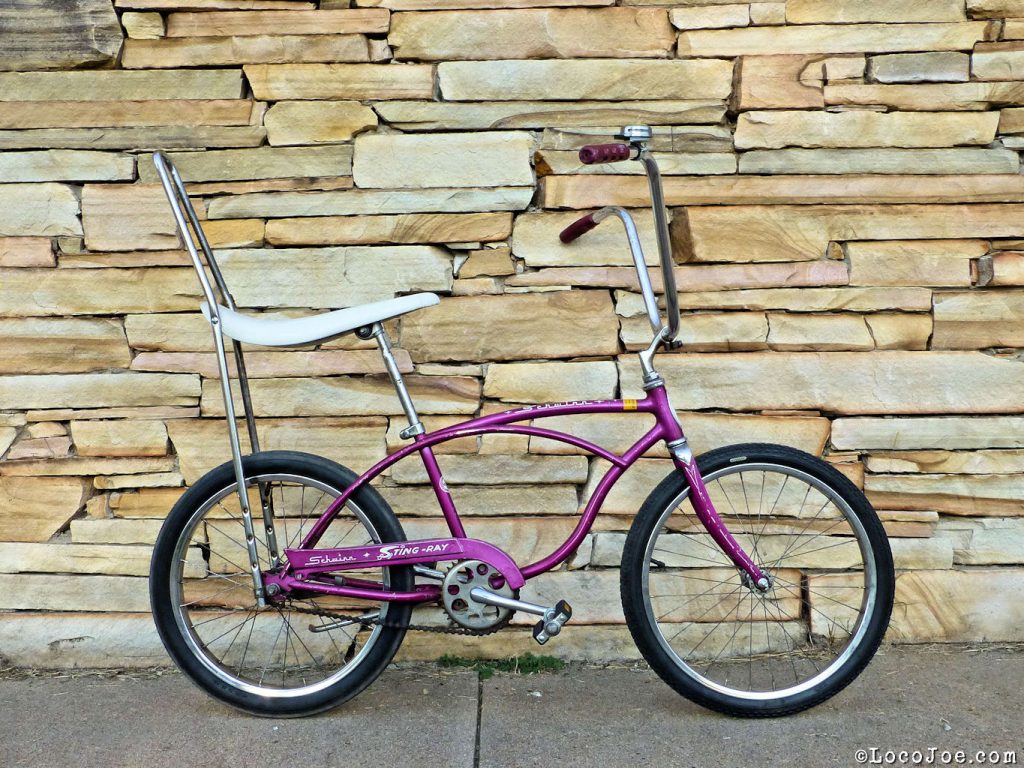
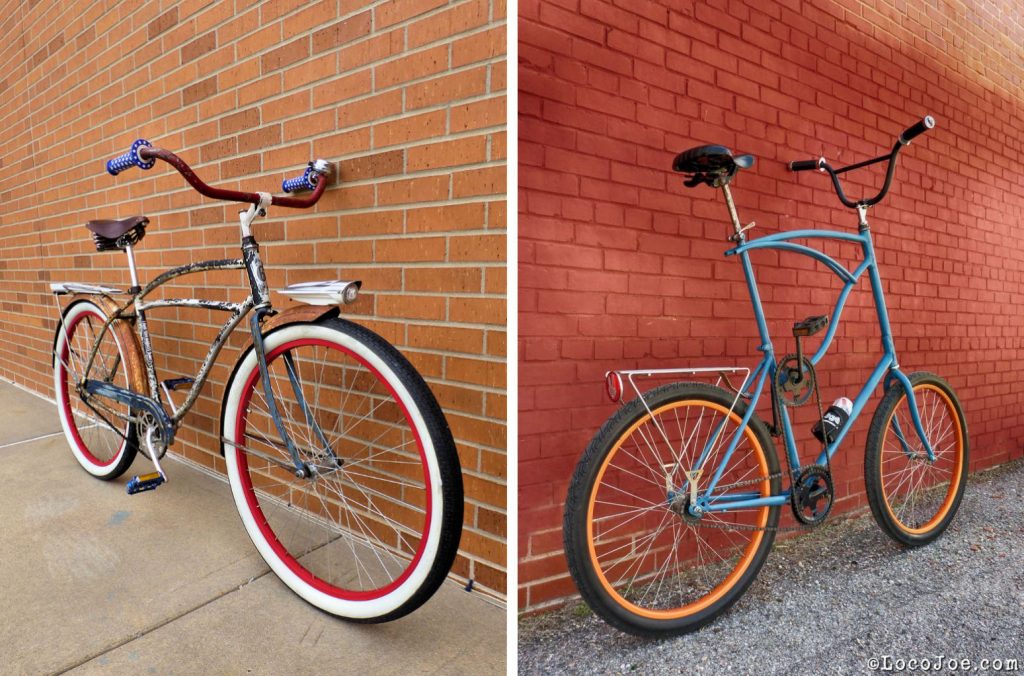
Do you have any tips or tricks for photographing bikes? Leave a comment below.

Thanks for these tips Randy. I often just take shots on where it is and how. I can see the value of your suggestions.
Thanks for reading!